Tool Envy
11.19.11
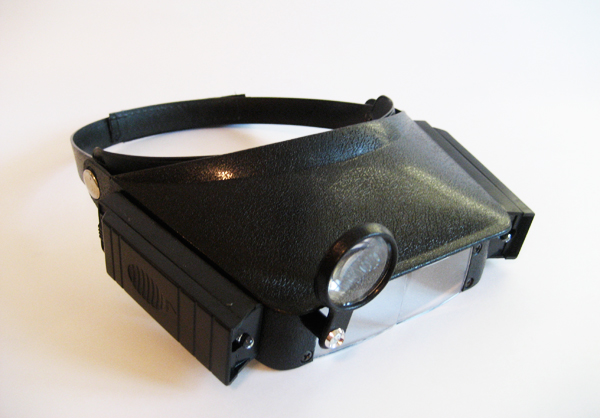
The most indispensable thing EVER for a crafty girl with aging eyes–the Head Magnifyer. Late in the semester at school, I discovered a drawer full of these and my life was changed. Best feature is that the magnifyer flips up so you can work with your seed beads etc, and then get up and walk across the studio without killing yourself. Purchased this pair here, but quite honestly, they are a bit cheap and I may invest in a better pair in the future, when money is less of an object. Still, LIFESAVING. And I haven’t even put batteries in for the lights yet!
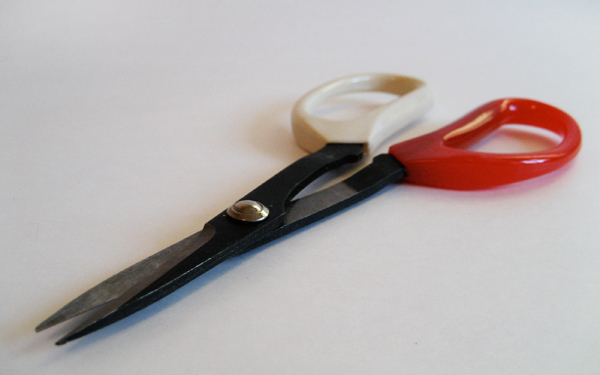
If you’re going to cut through tin, these are a must. So far, these are the best shears I’ve learned of and I have searched everywhere. I even went so far as to contact a major player in the tin-art field, Jenny Fillius, to ask if she knew of anything better. When you see the fine detail she achieves in her work, you’ll see why I shamed myself into writing. She agreed, this pair from Burnt Offerings is king.
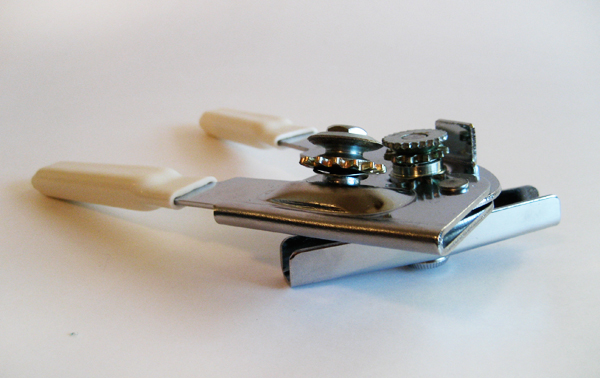
My ex-husband always preferred this to the electric version, and I always thought he was nuts! Now I’m in love with this simple old fashioned goody. Purchased at Ace hardware in Takoma Park and went for the deluxe version.
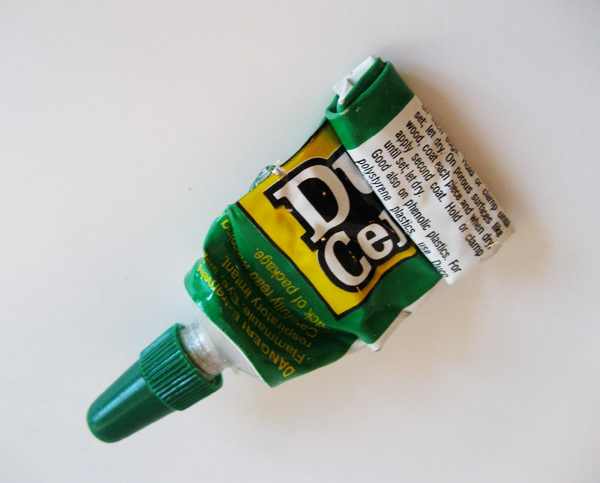
If I had a nickel for every time I’m asked about glue… so, here is my favorite. Duco Household Cement, available at your local hardware store. I find it to be the only thing that really works on metal (E6000… phooey), and it helps if you sand the two parts to create a bit of texture or porousness first.
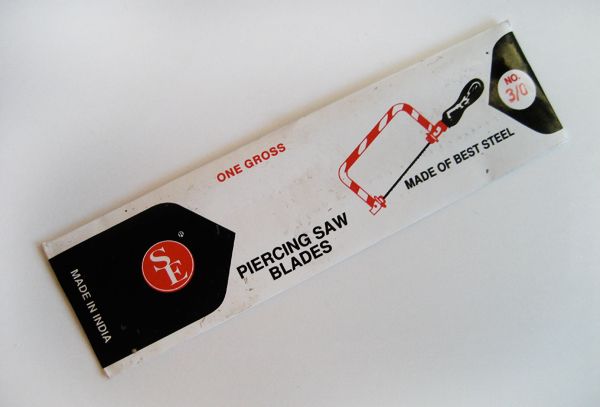
Yes, saw blades. By the gross. That’s 144 freaking little blades for $7. If you’re gonna saw metal, you’re gonna break blades. I’ve gotten really good at it, and this pack should last me awhile. But with the school store selling them at 20/$5, I felt dumb not buying these. Oh, and tip of the day: When sawing, lubricate your blade with a broken chunk of a candle (wax). Lubricate often. It really does help the saw to glide through and not get stuck. I’m not going to give these blades a full-on recommendation/link yet as I haven’t tried them. Will do so this week and will probably hand out a few to my buds in class.

This stuff (called: Background Antique) may have been a waste of money, but I love the little glass jar and thought it made a great photo. This is used on metals when you don’t feel like the mess of patina, and/or patina isn’t quite producing the result. It’s VERY black and opaque, so it doesn’t really give you that rusty crusty aged look. It’s great for detail work though, and I understand it actually adheres to the metal, unlike acyrlic paint, which a lot of artists are using. Whatever. I was paying a hefty hazmat fee for shipping patinas (really, OUCH) so I thought I’d try a bottle. It’s nice, but not necessary.

You people know I like to save the best for last. And this is the bestiest best little tool… amazing, divine, expensive. Did I mention expensive? Oh, you’ll see. That said, if you’re going to rivet… and you have as little time and patience as I do, this thing is THE MAN! There’s a nifty video on YouTube that shows you how it works (that’s how I found out about it, I was searching for rivet techniques)… but it’s a wee bit trickier than the video shows. Still, after one small project, you get the hang of it. The gist: one side punches the perfect-sized hole, the other side flares your perfect-sized rivet. Boom! Done! BTW, yes, I did try doing them by hand with wire and a hammer, and I tried a little hand tool from Burnt Offerings… Uhhhh, no. Everyone has to draw the line on technique vs. tools… and that’s one I decided to draw. Don’t hate me! Buy it here, and tell Sue that Jodi sent you.
For more tool porn (not THAT kind), visit the designfarm blog.


3 Responses to Tool Envy