03.30.15

Really immersing myself in working with clay again; learning so much from scouring the internet, but also by fearless experimentation. A recent lesson: One of the addictions of clay is an undeniable therapeutic benefit to holding something squishy in one’s hands, something that softens with one’s own body heat, something that starts out as an ugly lump and becomes anything and everything!

Less exciting things to learn include making due with available supplies such as taping a piece of wax paper to the cutting board I primarily use for sewing. This makes an excellent clay rolling surface, won’t break (like the piece of glass I shattered prior to this discovery) and can be tossed out and resurfaced when it gets too dirty. Simple, but effective.
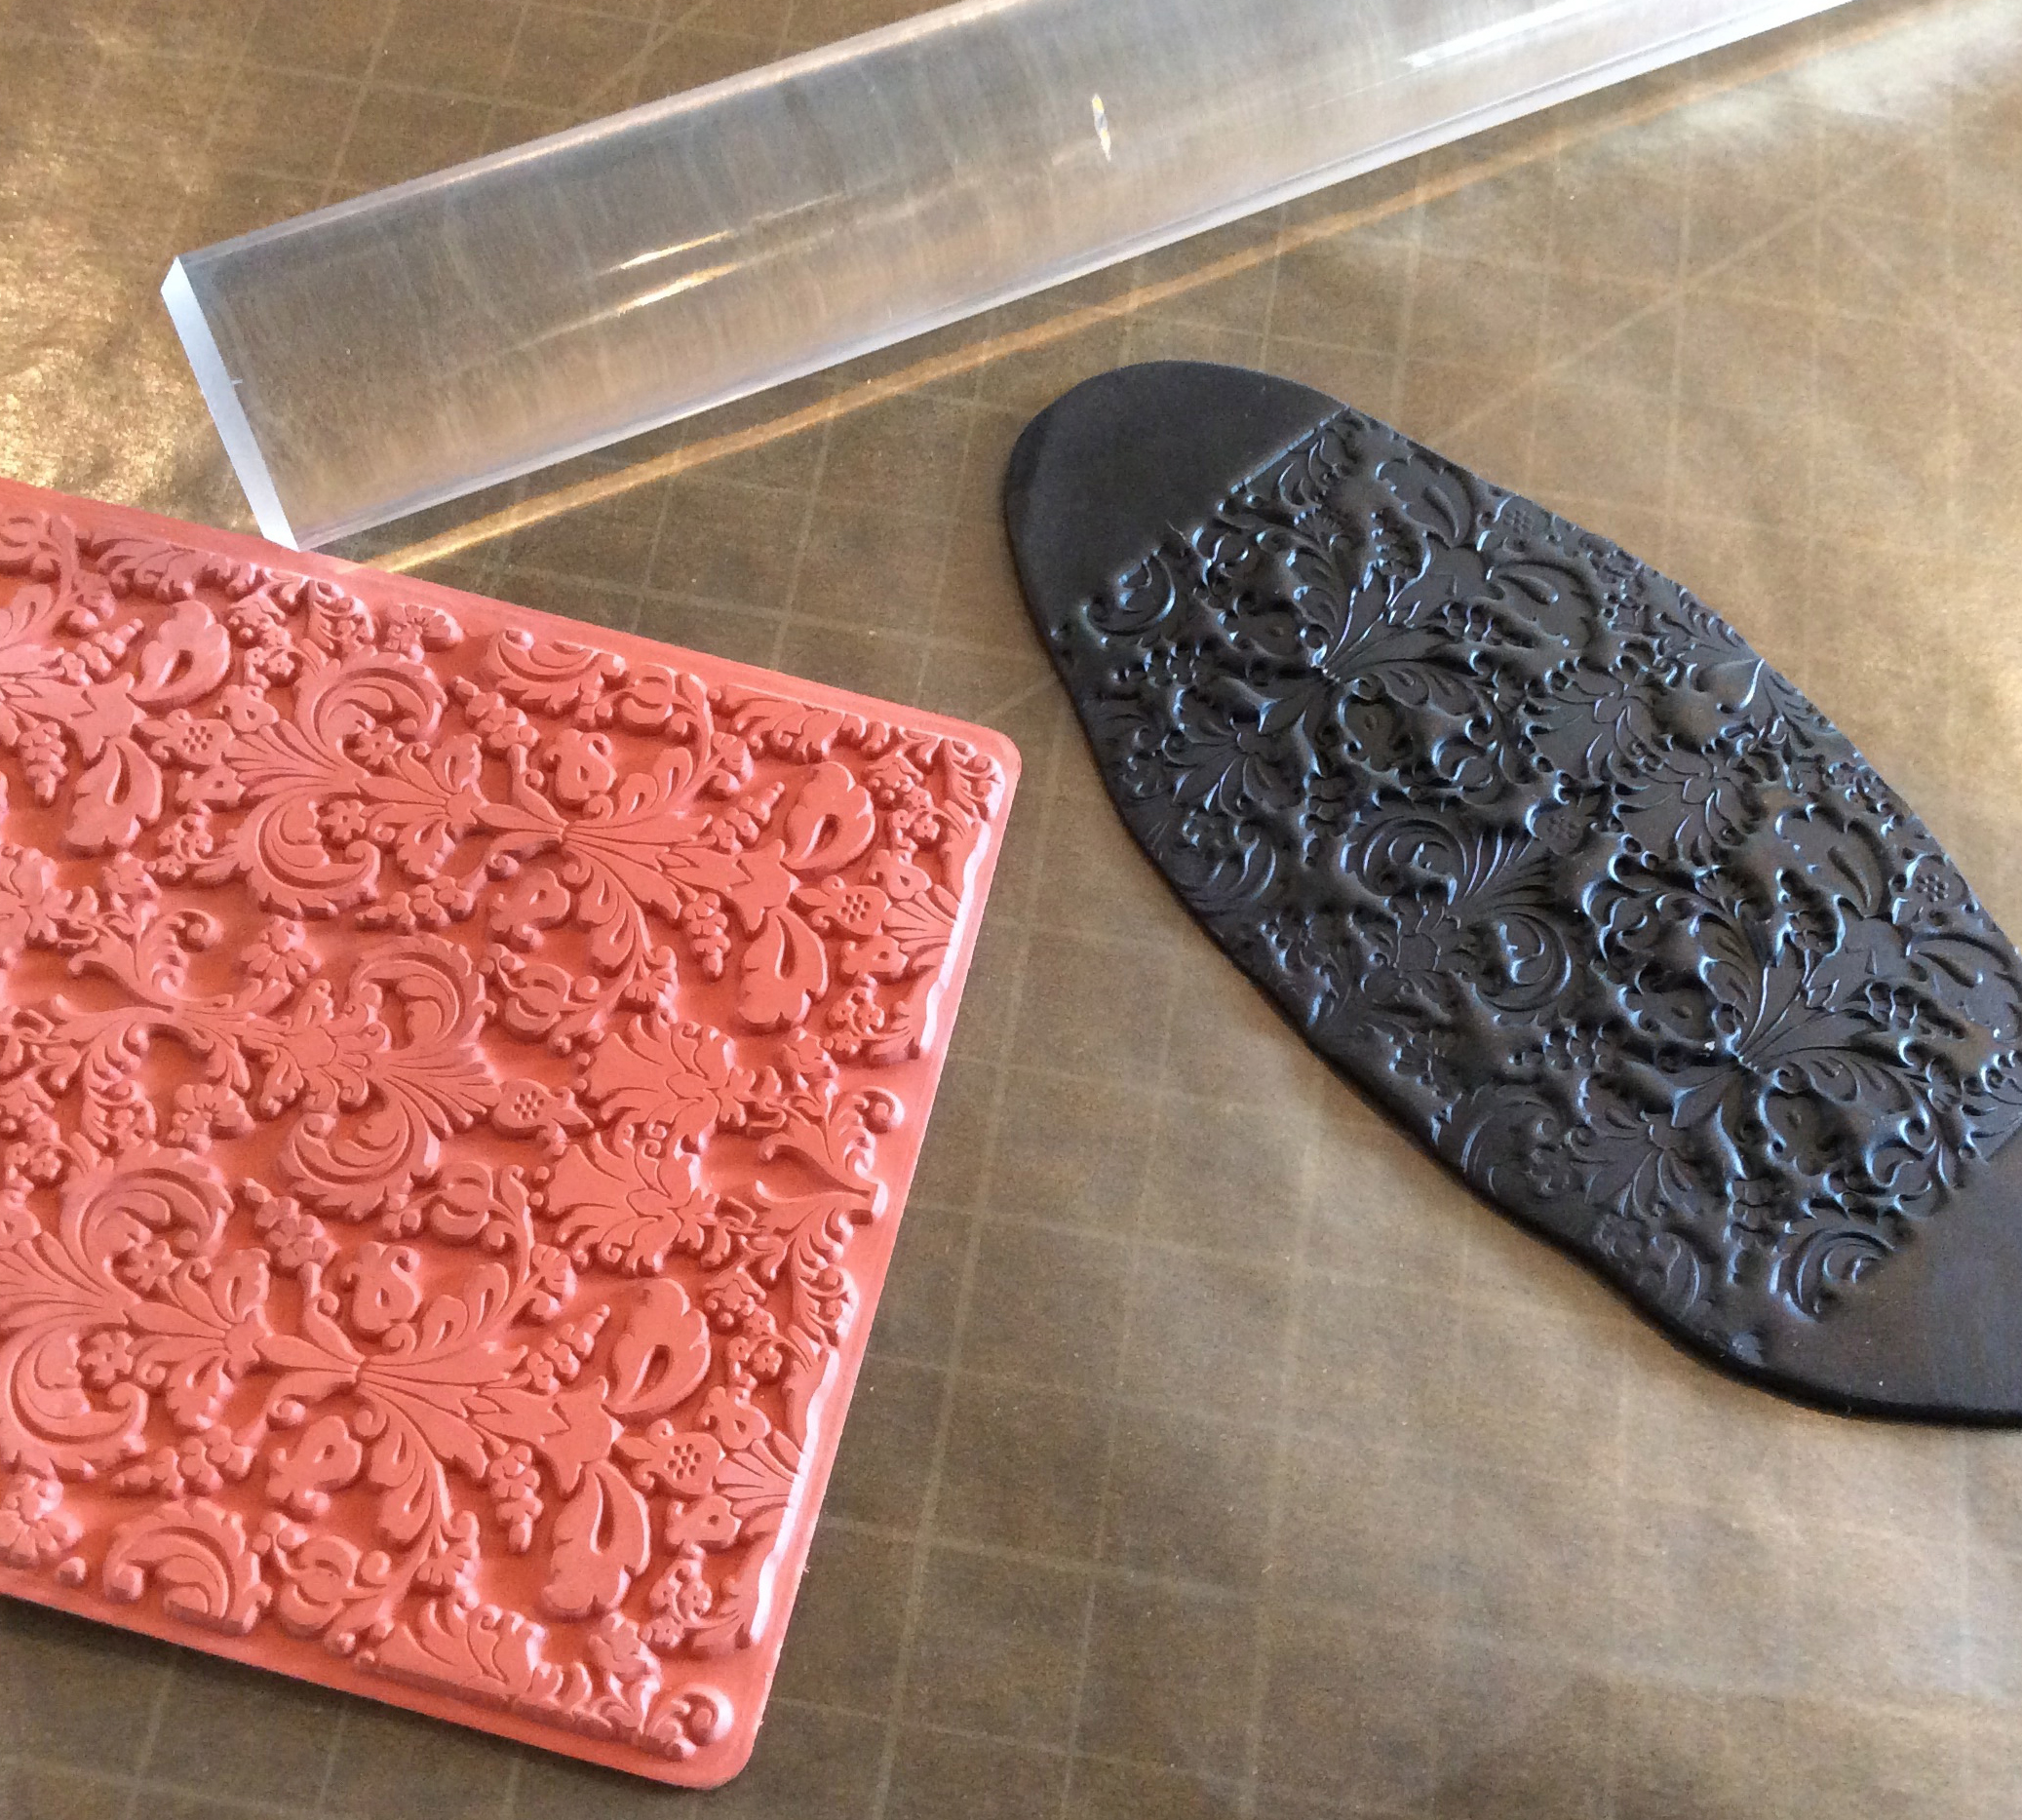
Patterning a rolled, flat piece of clay is intuitive… just press your texturing surface into the softened clay; in this case a rubber stamp. Duh.
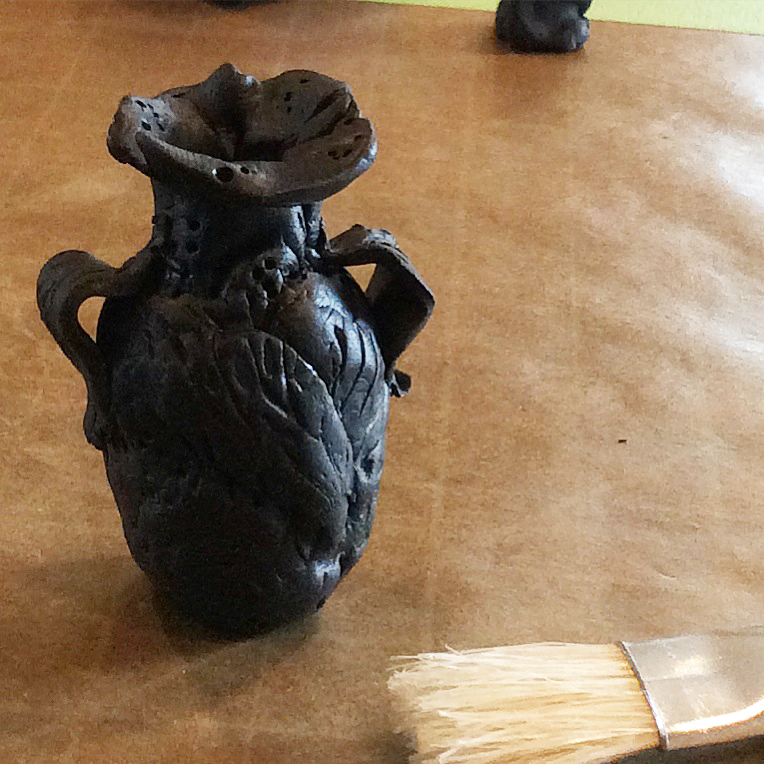
Applying this type of texture to a formed surface is a little tricky, requiring one to slice a thin piece of texture off and then apply to the vessel, or just start with a super thin piece to begin with so that it can be added without changing the overall shape of the piece. Above is a tiny vessel, unbaked, with texture applied in this way.
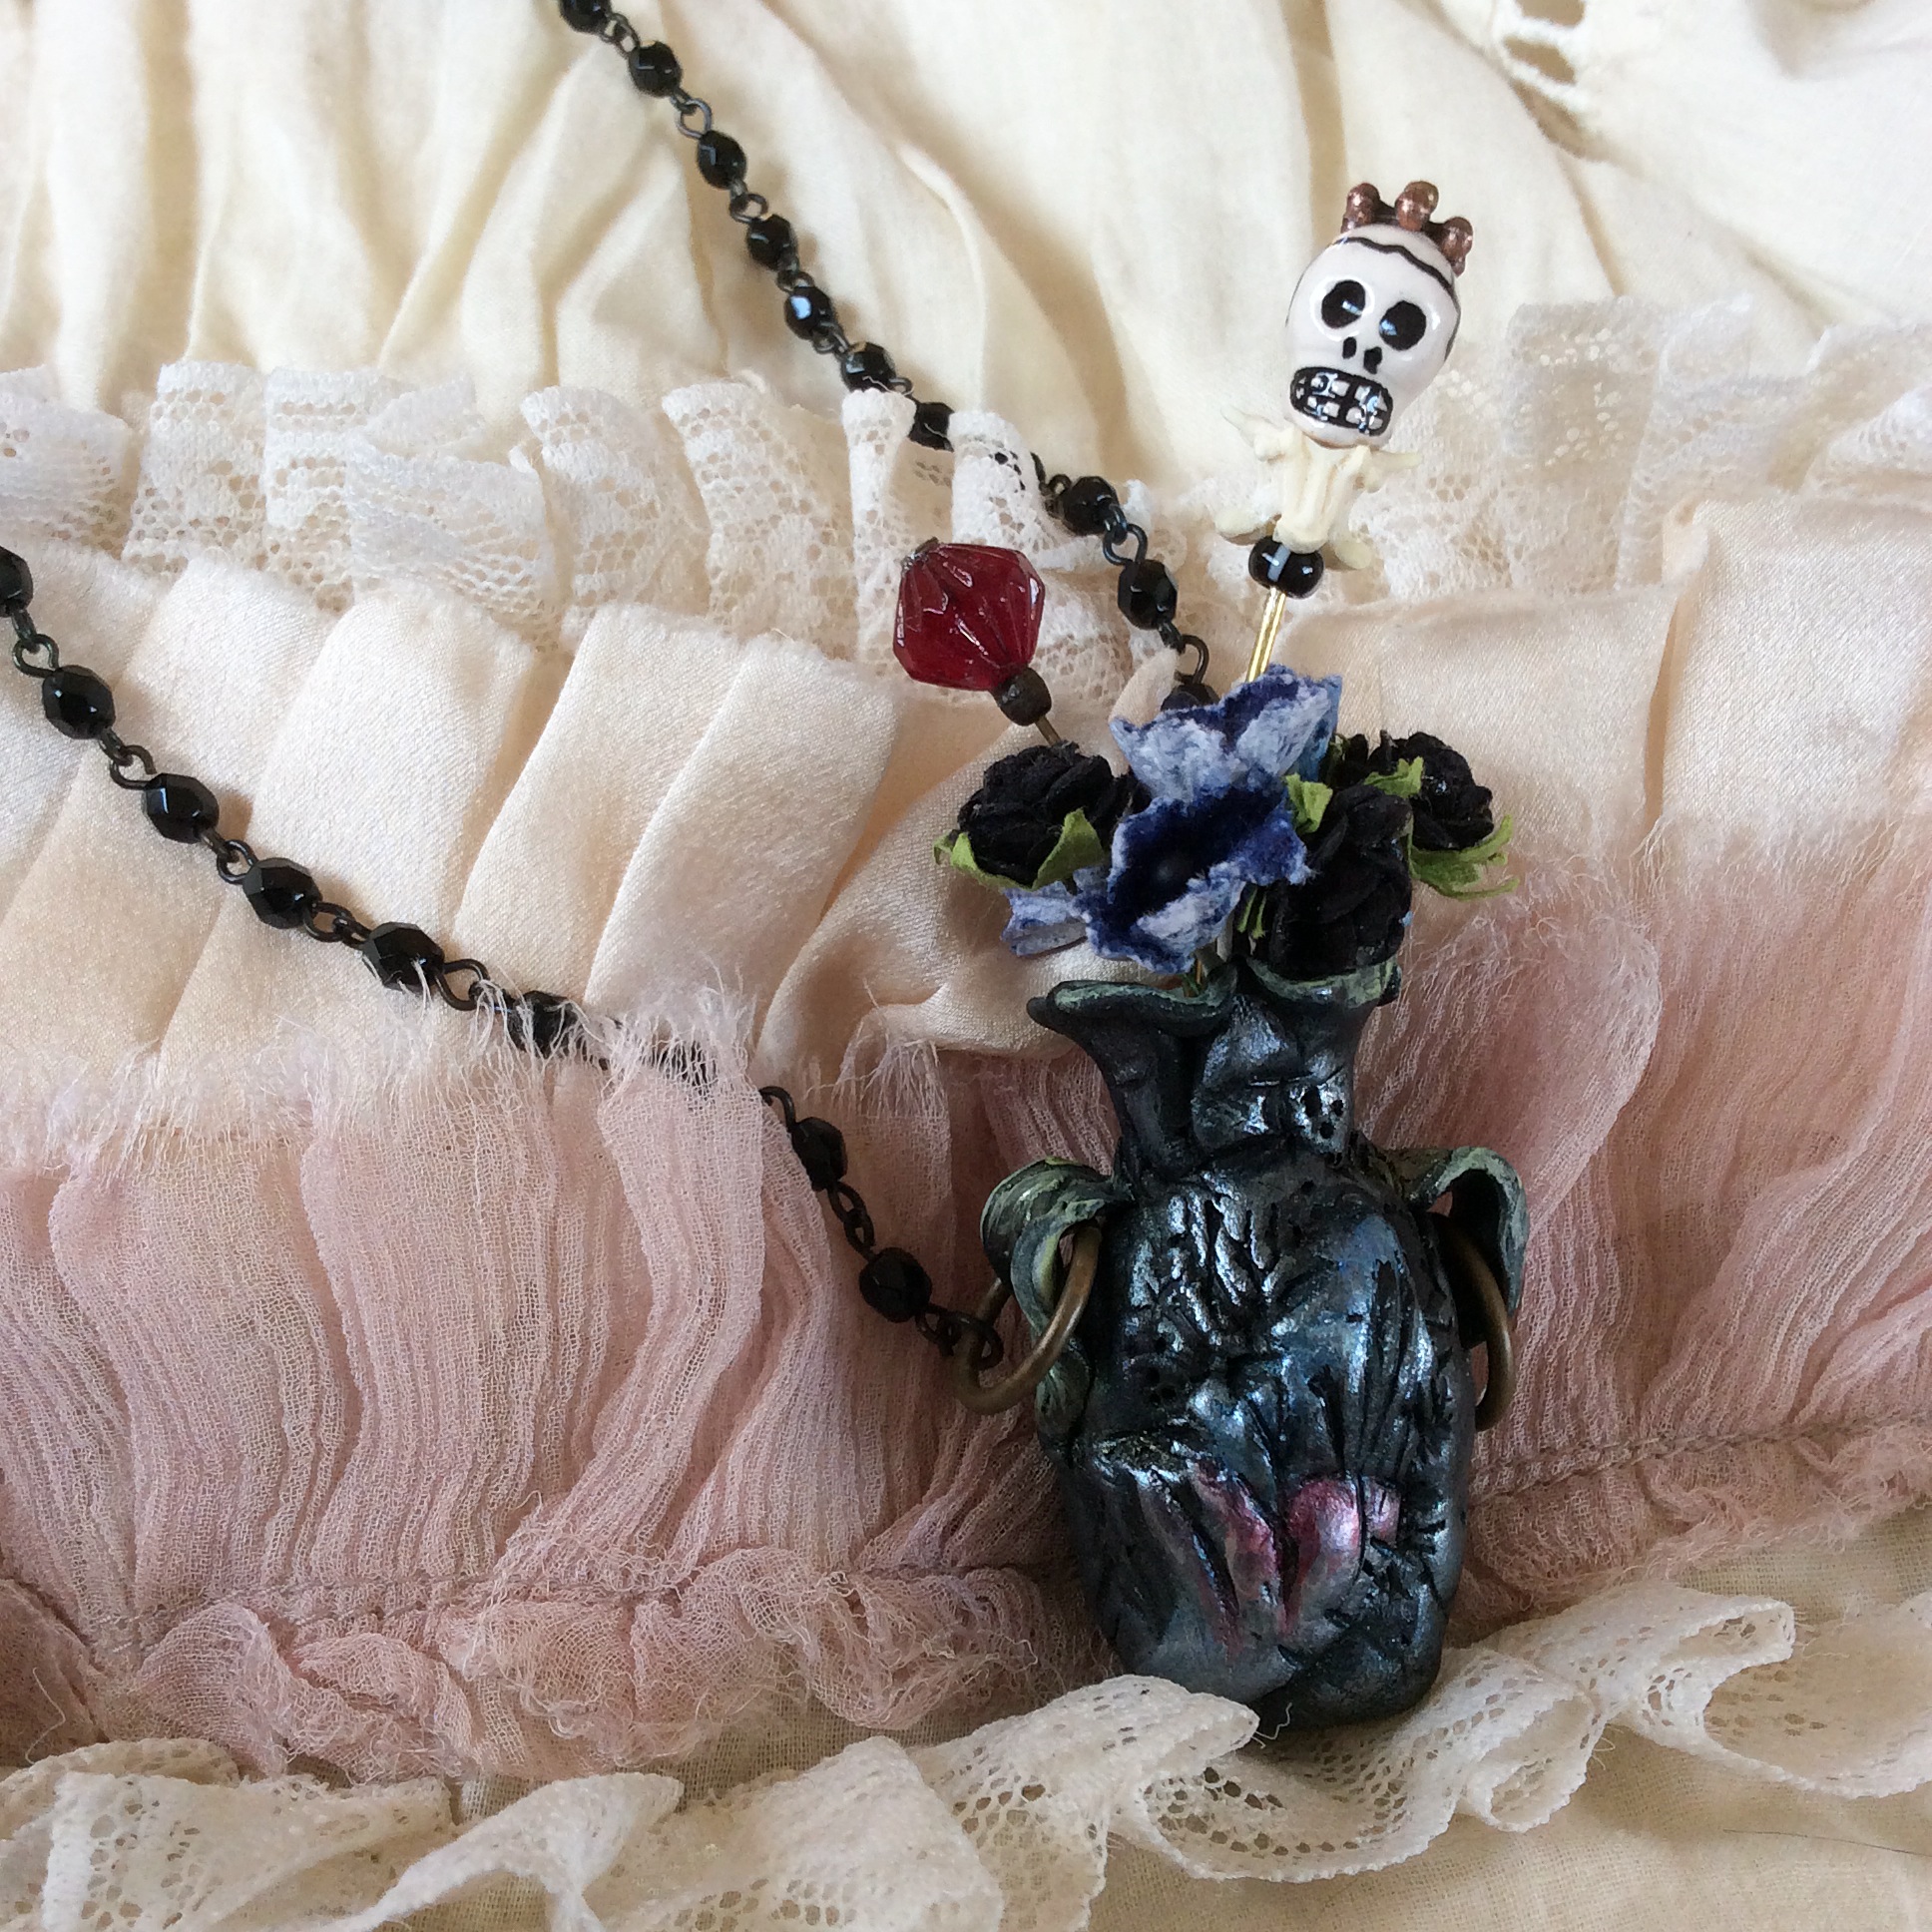
And here it is painted. I’m not 100% happy with the paint and decided that application with one’s finger will provide a better effect, leaving the indented parts of the texture paint-free. You can see a bit of a wing here, that piece was applied in the manner described above.

Less obvious, how to texture clay objects that are NOT flat. Here you can see that I pulled the rubber stamp off of its wood block and can now roll the ball of clay in the rubber, applying texture to all sides rather than just one. Once you’ve pulled the rubber stamp off the block, you can then texturize flat clay by rolling over it with your rolling pin.
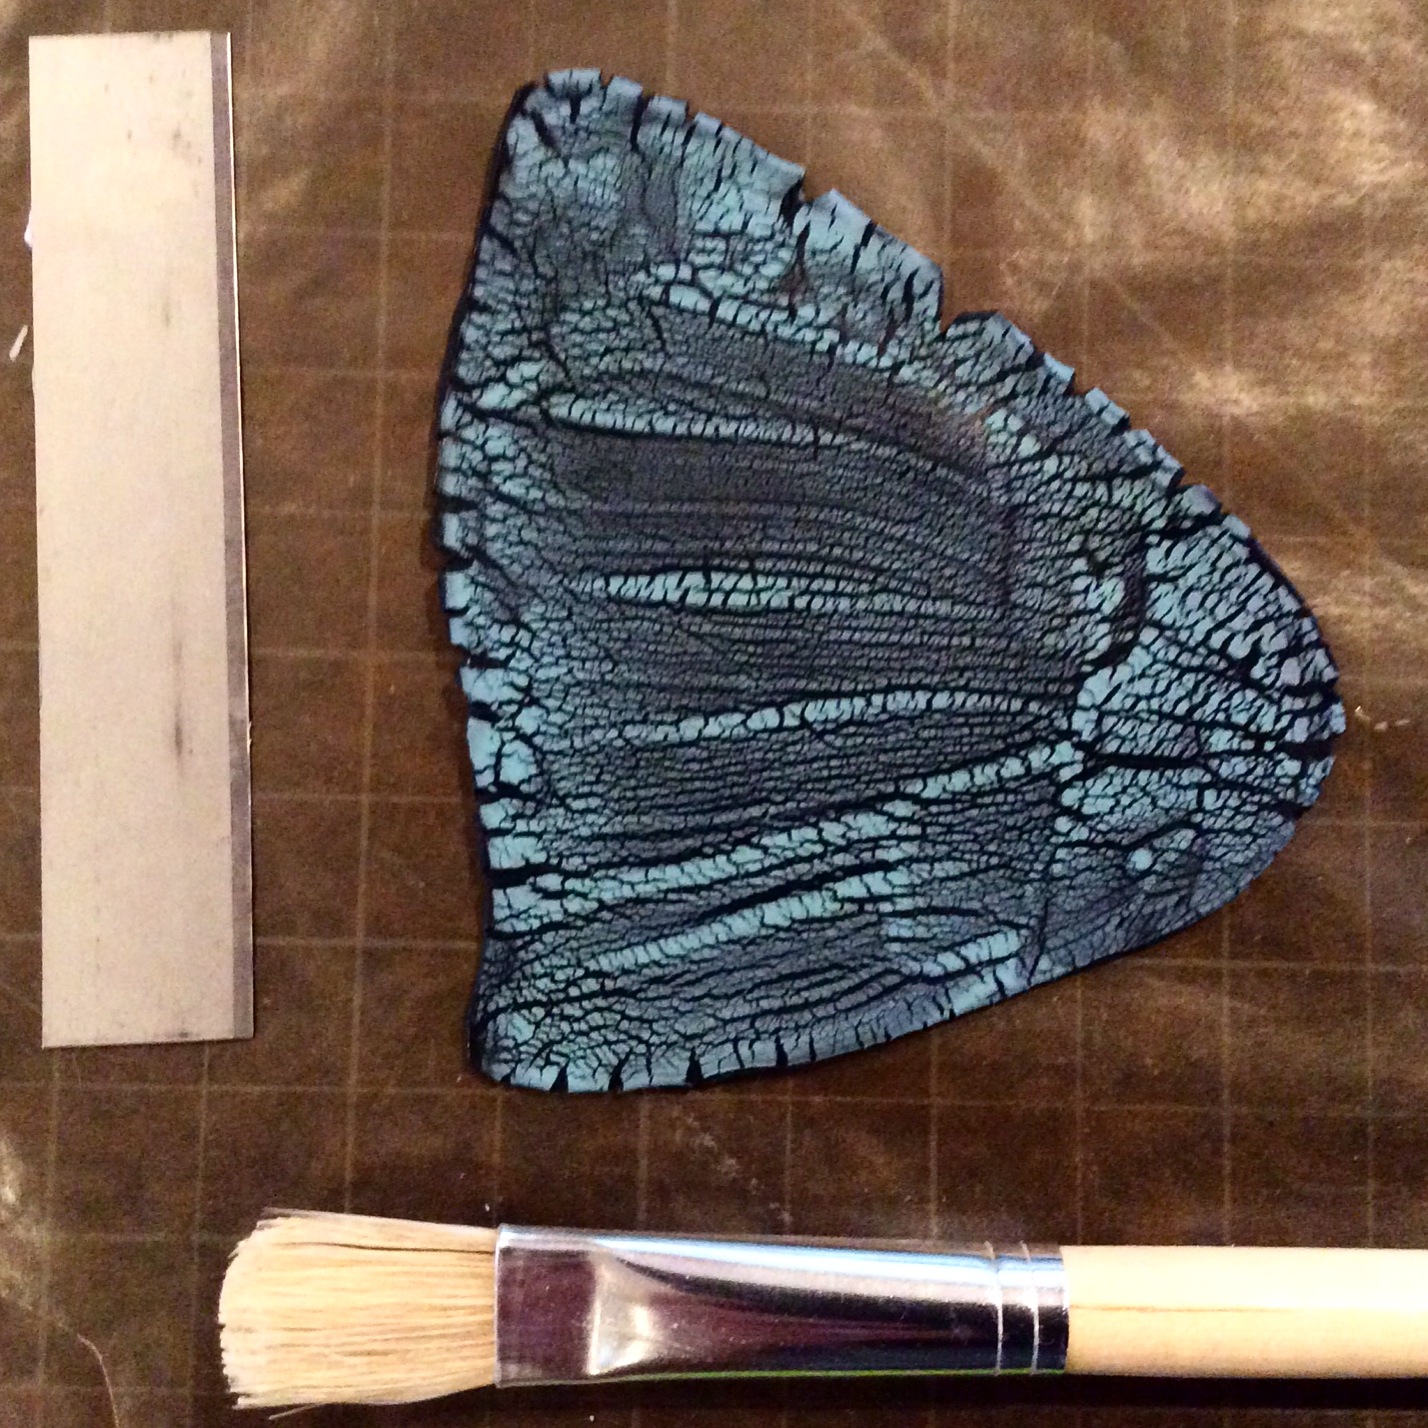
This is another surface treatment I learned called crackling or cracking. In fairness to the developer of the tutorial, I can’t legally share the info with you, but you can buy the tute here. What you are seeing above is a finished surface test that accidentally turned out to be this AMAZING butterfly wing. Complete accident! I didn’t see this until the crackle had finished happening. I don’t know what to do with this and will probably bake it as is and then try to think of something in which to incorporate it. It’s really just so gorgeous.
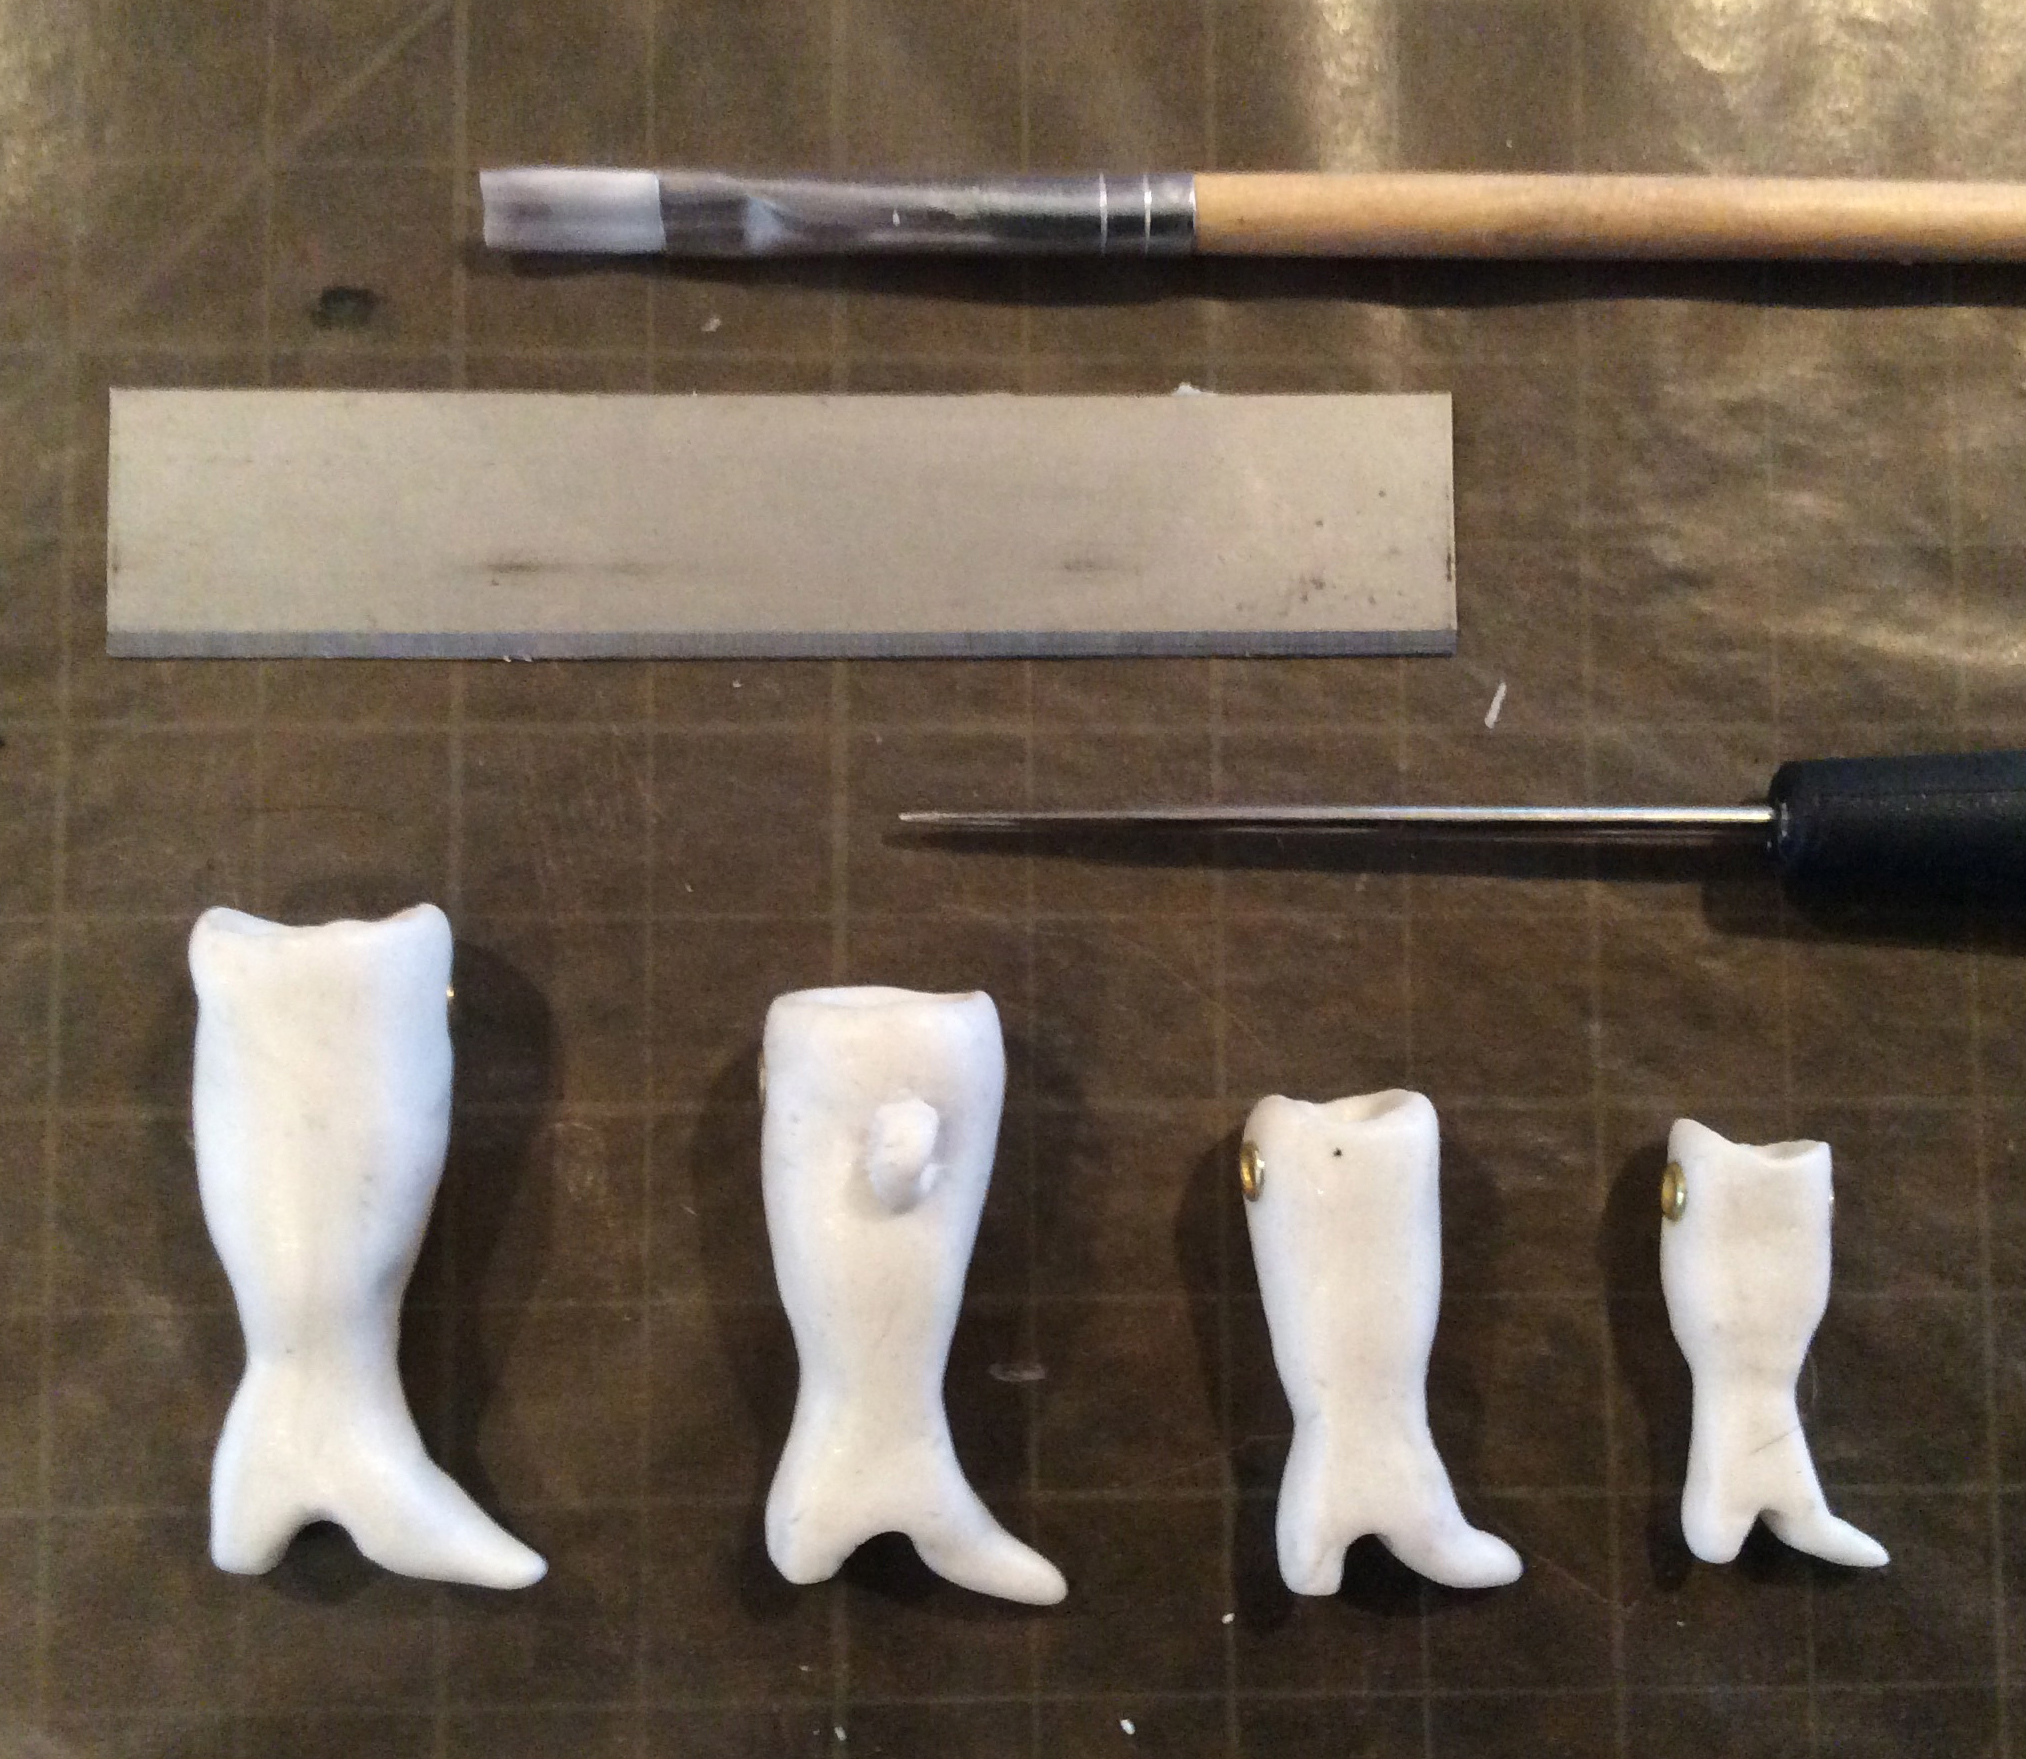
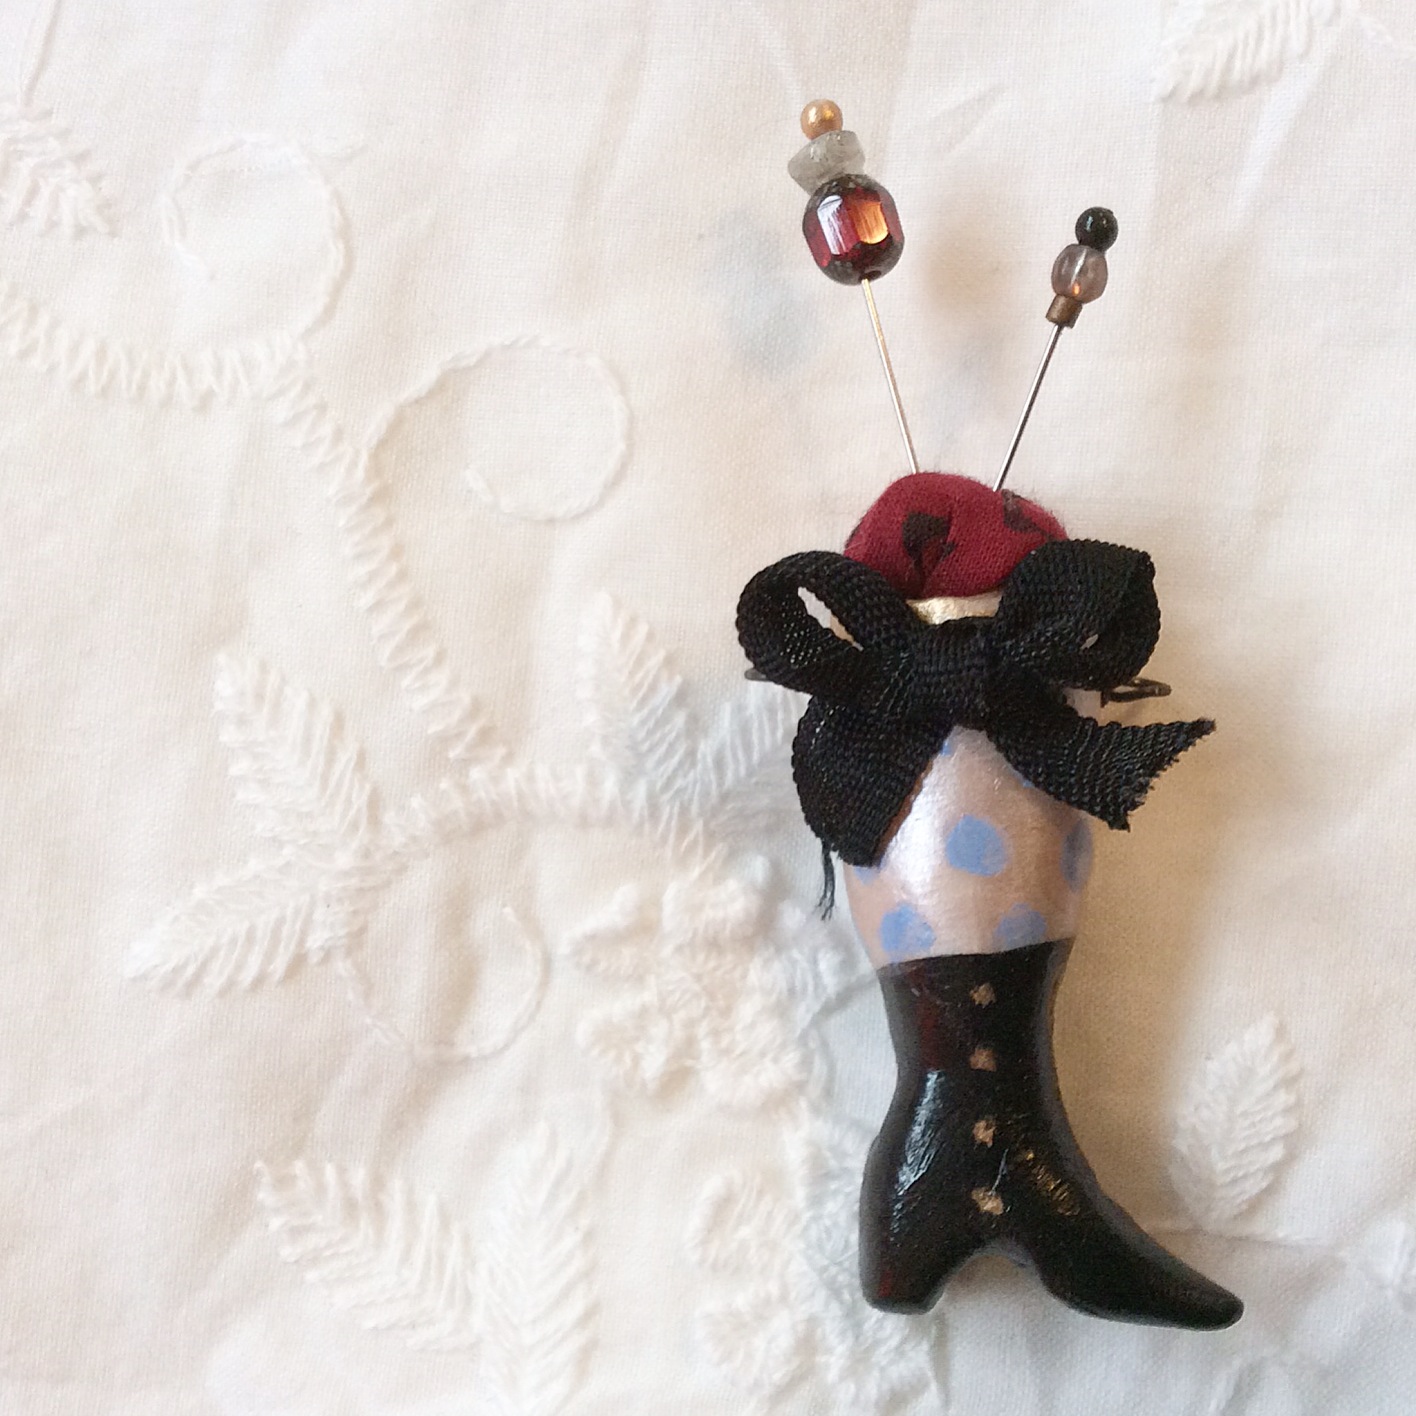
Here are little unbaked clay dolly boots in progress for necklace focals. I’m still loving the ones made from ancient German doll factory digs… the late 19th century pieces, but wanted to try to create my own in order to be more cost effective. And this is working out really nicely too. Making 4 at once gives me some economy of scale… all in an effort to be able to price the finished pieces in a way that makes them accessible to more people.
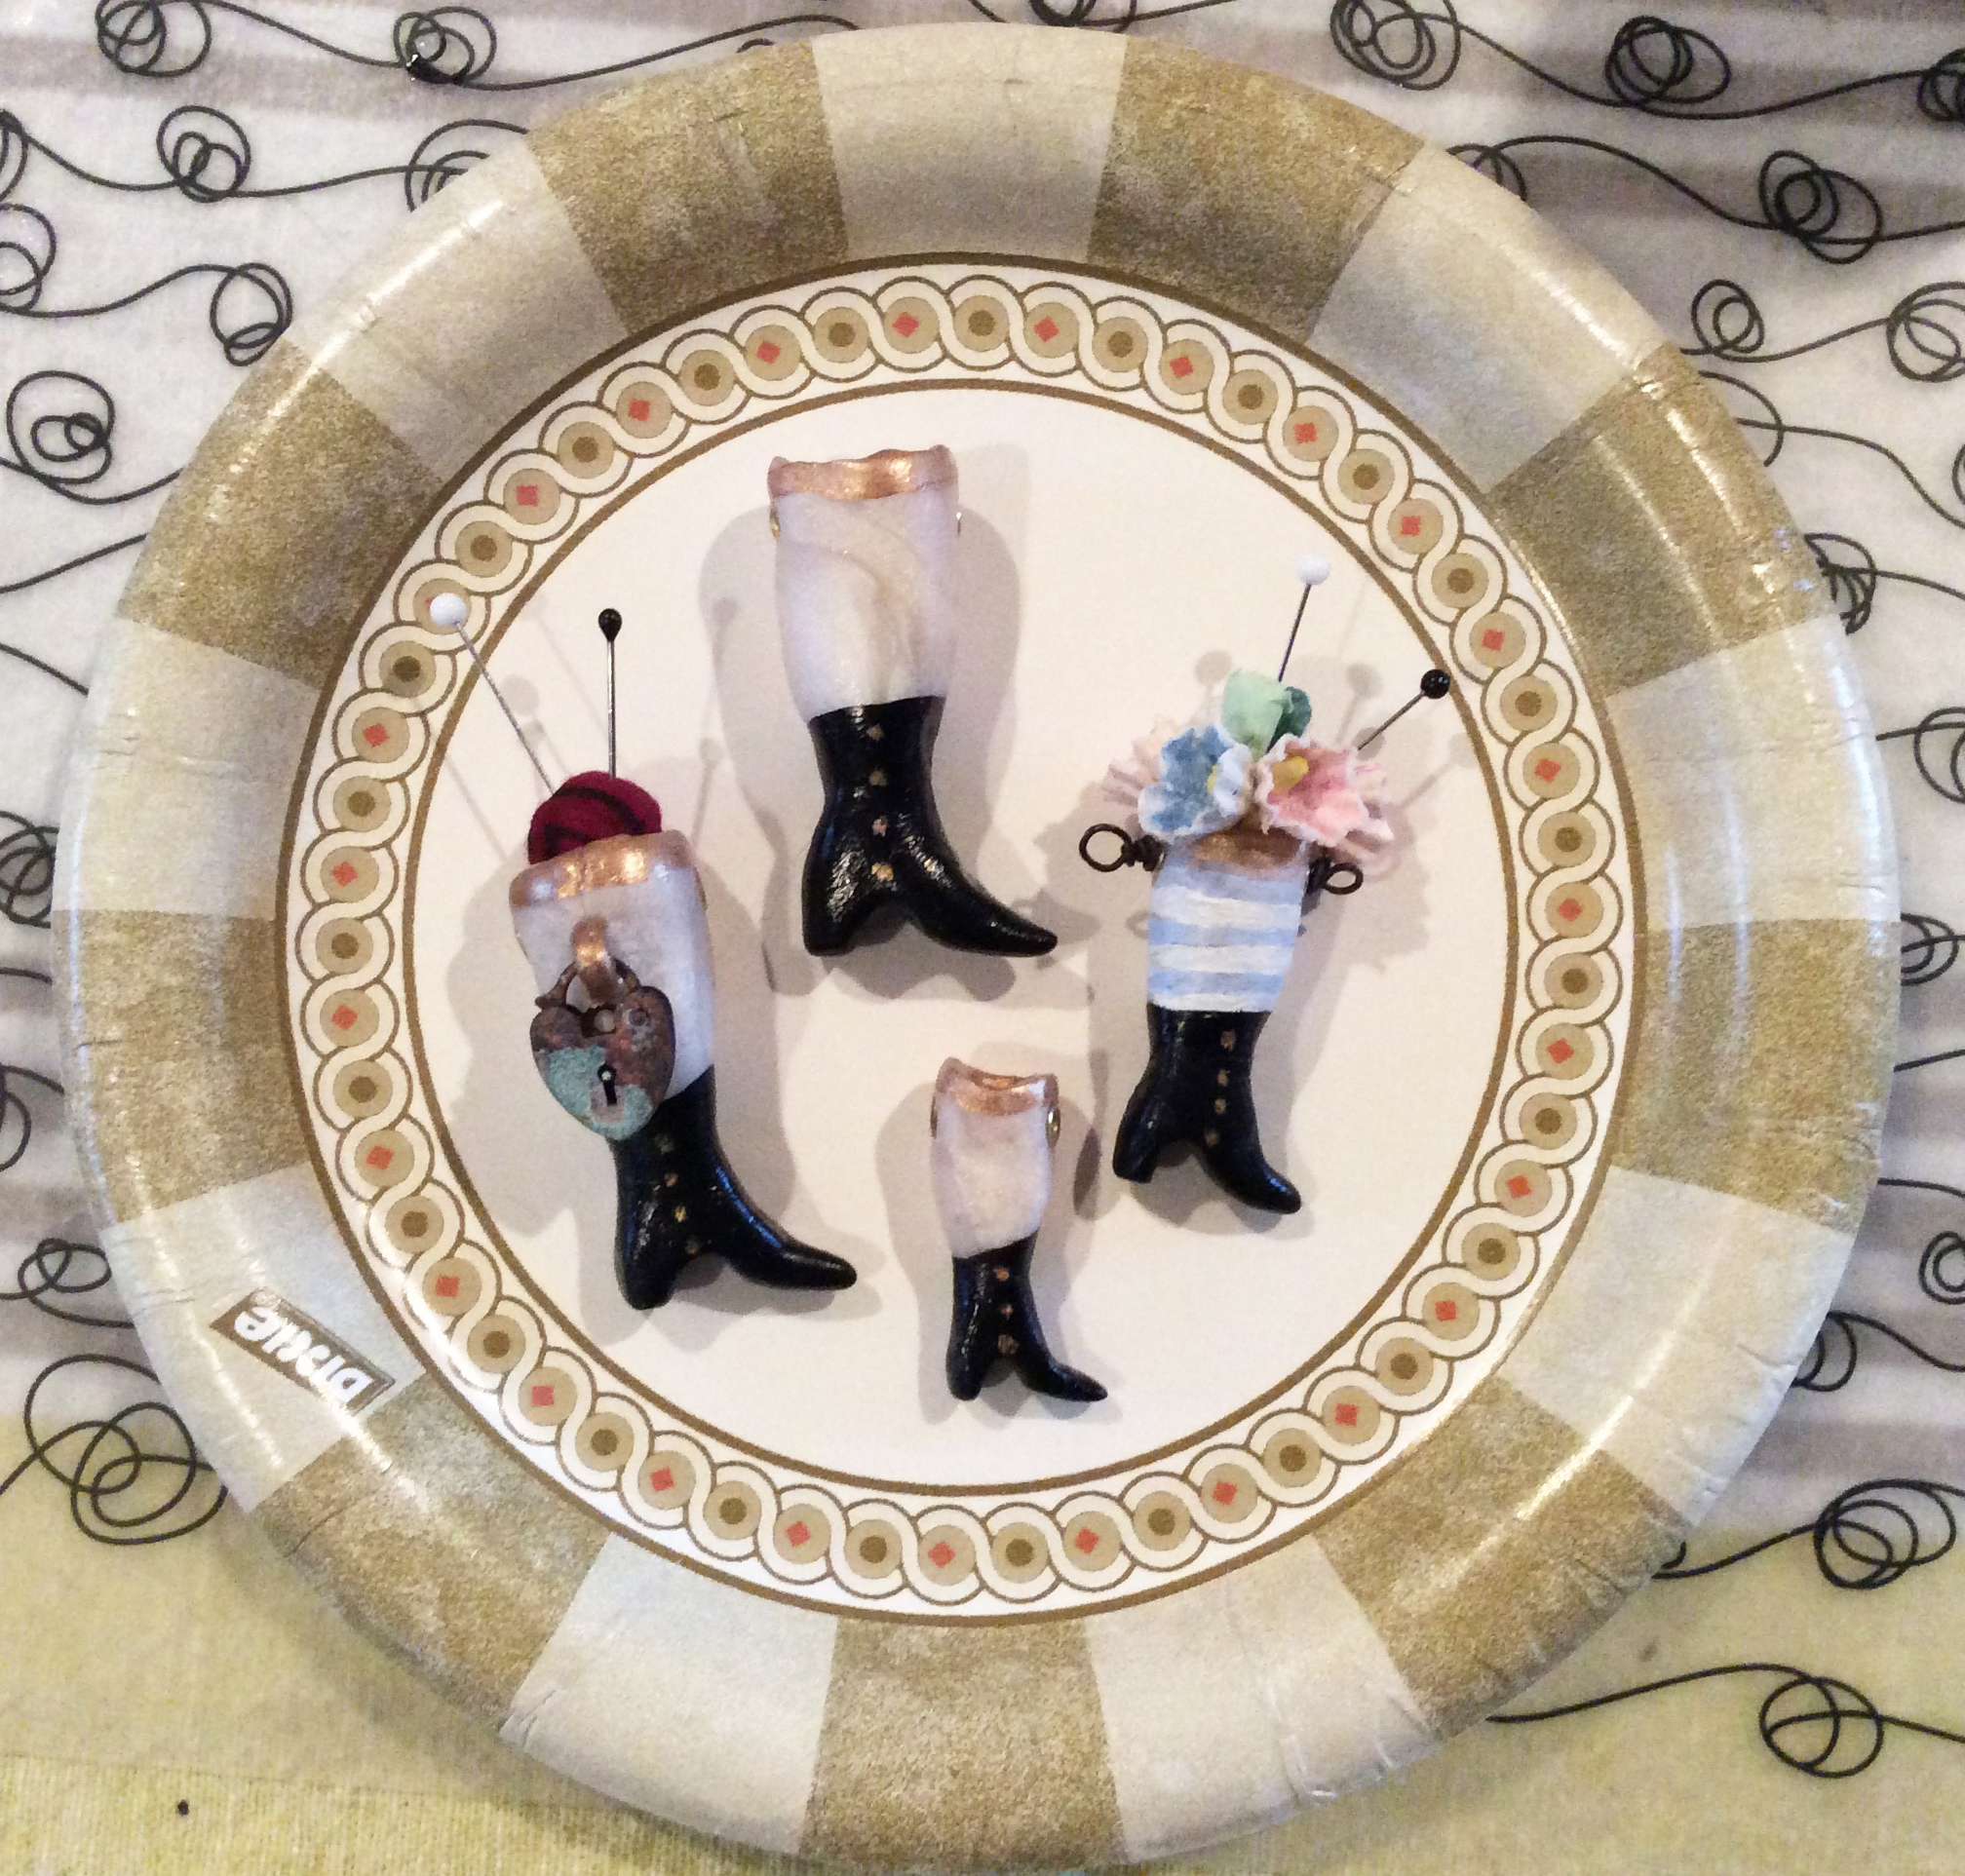
Above, they are finished baking and beginning the painting and embellishing phase. This is really fun too, but tedious as these are tiny. The smallest boot is about .75 inches tall, the largest is only 1.5 inches tall.
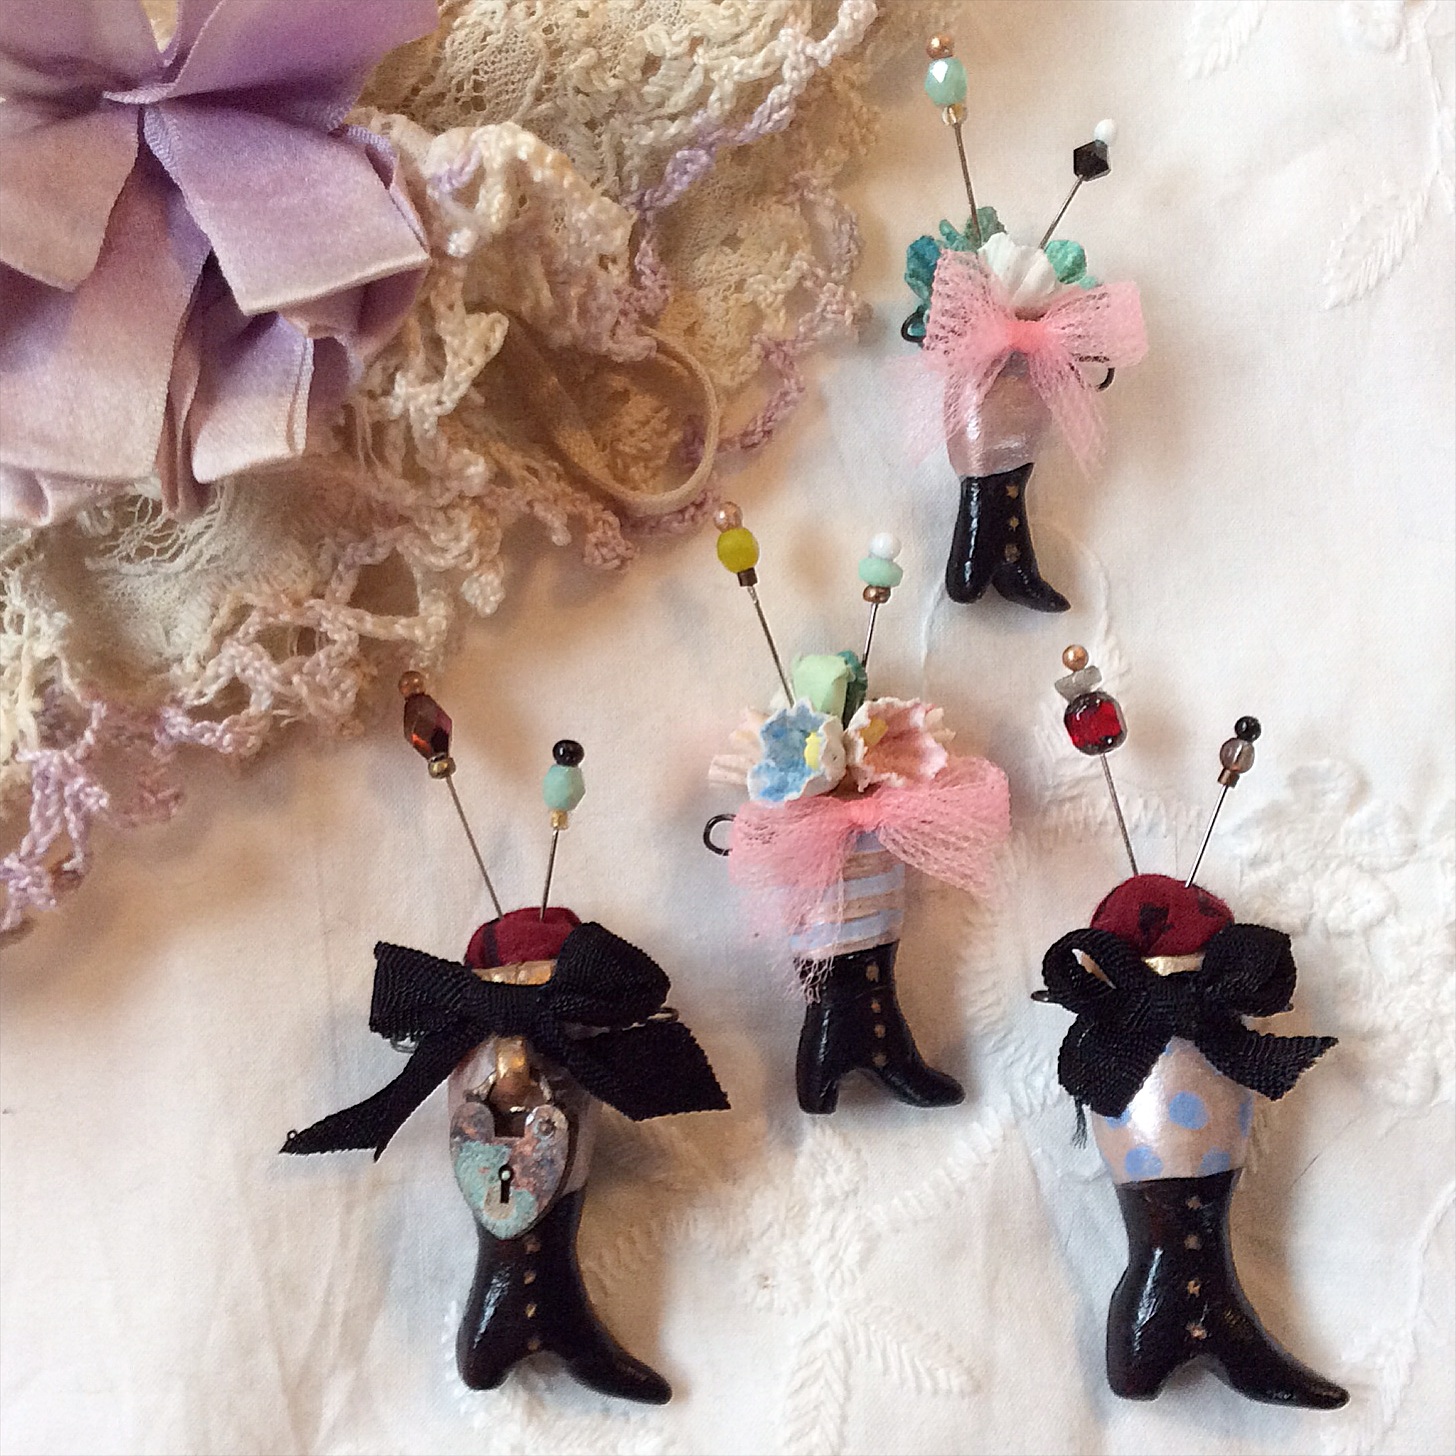
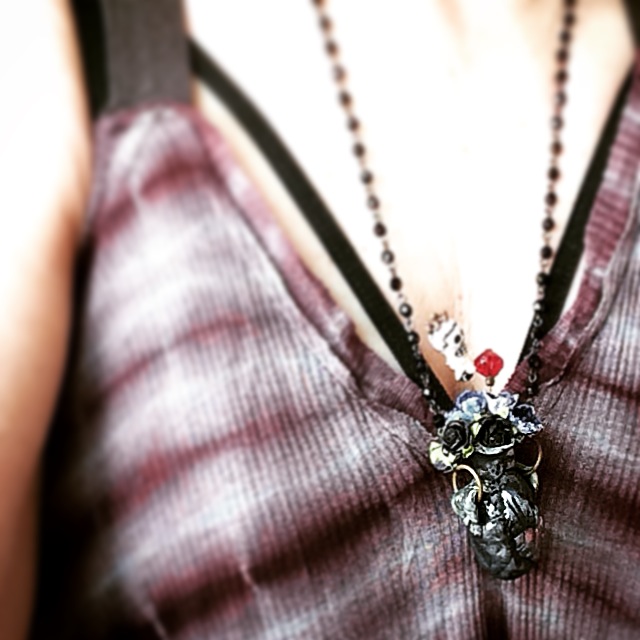
And… finished. Of course in order to sell them, I have to add necklace chain and then photograph again. I am planning to do another batch and then begin listing, but if you see one you want before I get all that done, just email me. The chains will be textured aged brass link, and the length you desire, from shorter, to be worn on flat part of upper chest, to much longer, below breast length. Some close-ups follow and please remember these tiny works of art are my own, so please be inspired but don’t copy.


To read a bunch of posts about clay processes click here.
Subject: Blog, Craft, Supplies | 224 Comments »
03.13.15

I prefer working small; the above amphora necklace focal is 1.75″ tall, plus the millinery and stick pins. But since I’ve been seriously delving into the polymer clay medium, I’m realizing that even the smallest object holds the promise of so many lessons, from forming to surface texture to paint.
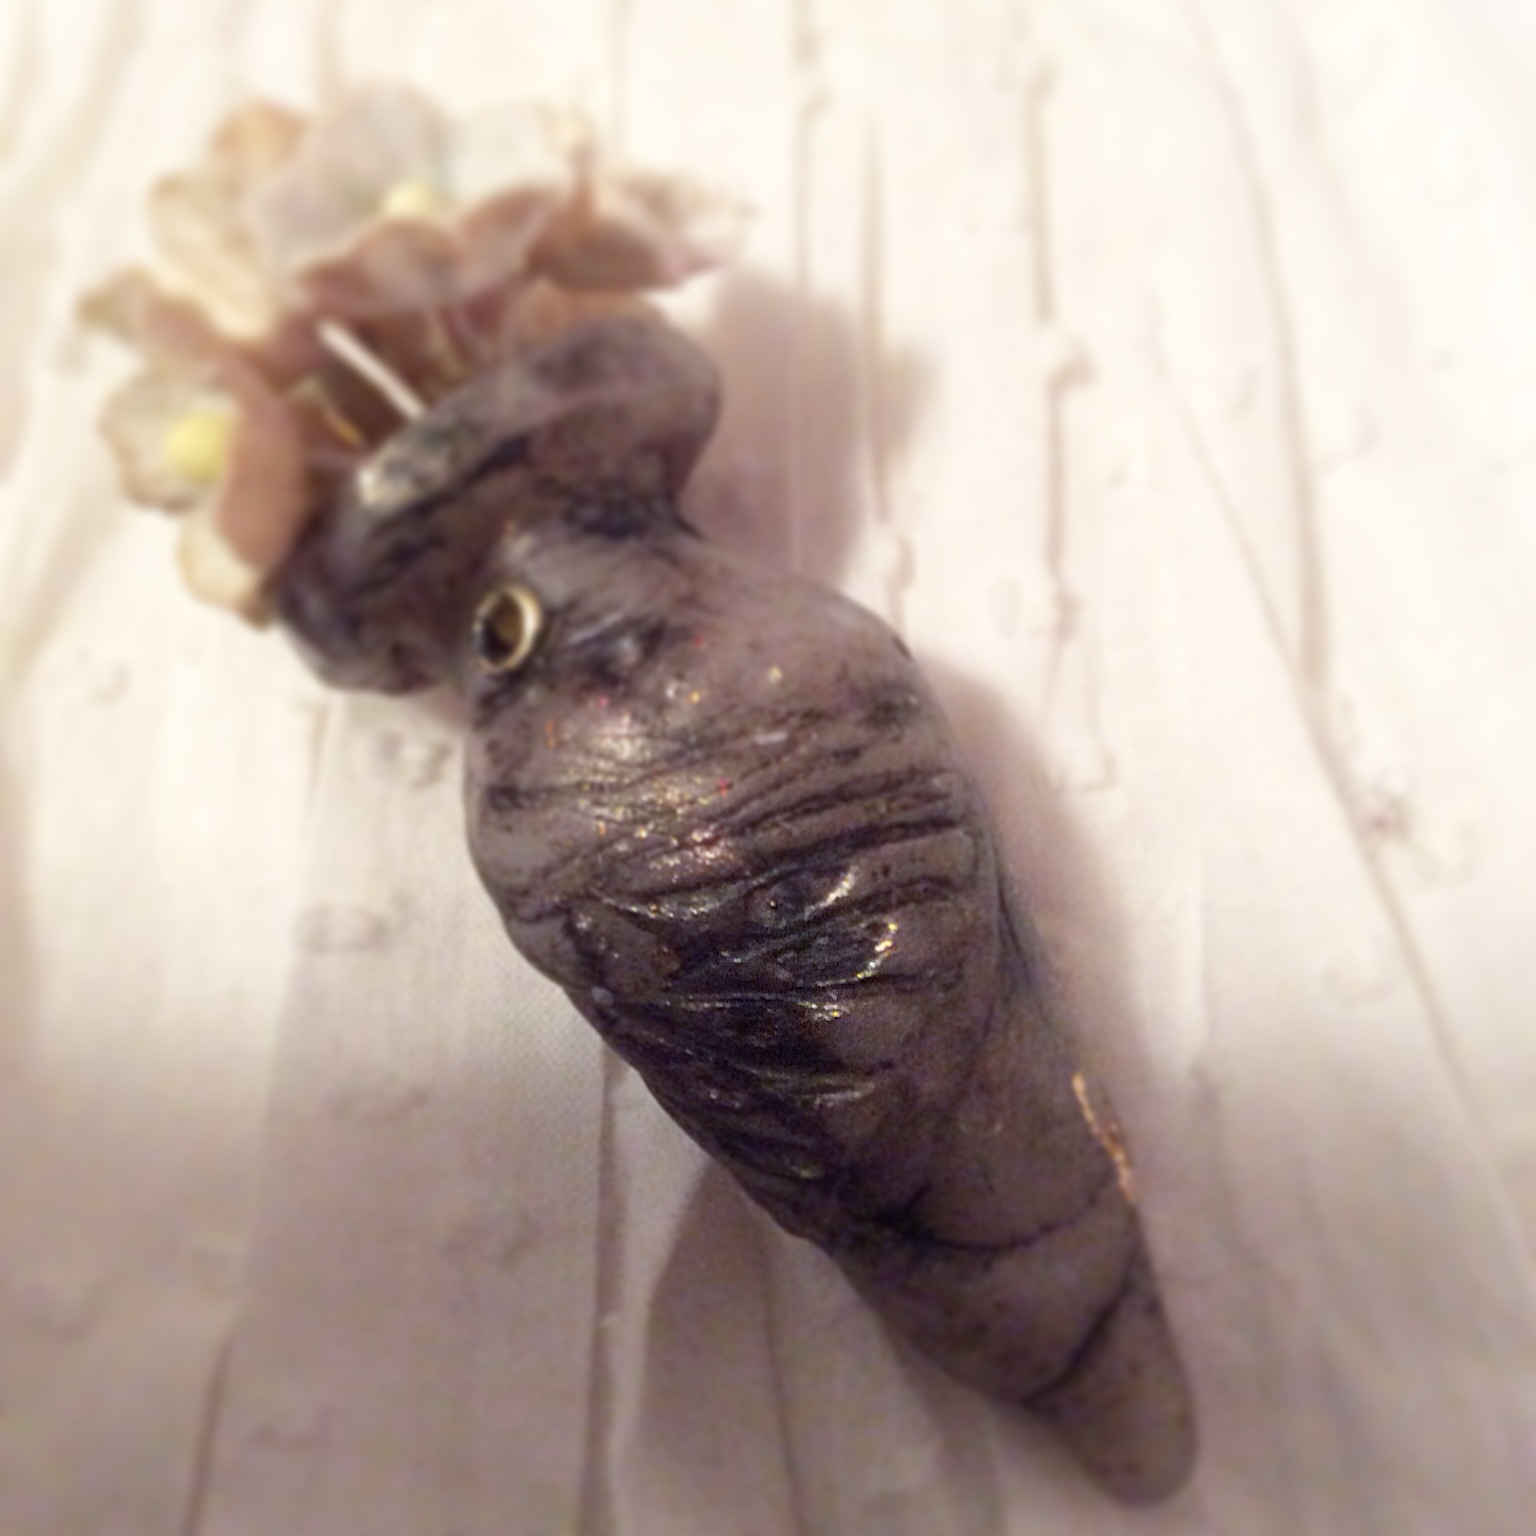
The photo above is where I left the object last night… it had finished baking and I was disappointed with the dirty gray color and lack of translucency (I had mixed in gold leaf to very little effect). Still some things to master, but I wasn’t going to let all the work I’d done be for naught so I slept on it, and put some intentionality toward waking up to work on it some more, knowing that paint was the answer but feeling too sleepy to carry on.

I’ve never been a clay or paint person, in art school or in my 30 years as a practicing artist/designer; I am now falling in love with handling clay and with applying paint in built layers. To make these amphora charms, I’ve taught myself how to create a slab vessel out of clay, because I wanted these to be hollow… more lightweight (for jewelry), and more real. I sort of made it up as I went along, doing what seemed to make sense. Softened and rolled out a sheet of clay, and started forming it, then making and attaching the neck separately from the body.
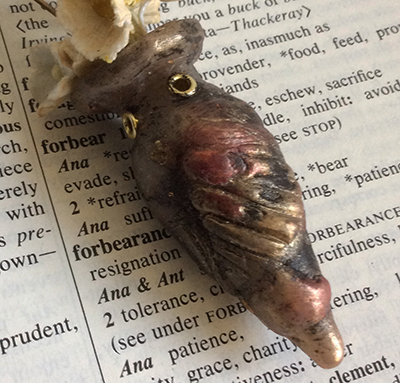
None of these images capture fully the delicacy of either the textures or painted colors. By using the dirty gray as my middle tone, I was able to add shadows or low lights and high lights, applying pigment slowly. Close up above shows a bit more of the detail.

The texture of the wing was produced separately from the vessel (stamped into the clay), with the top level sliced super thin like the thinnest swiss cheese and then applied to the surface. After this, the piece can’t be handled much until post-baking. All of these techniques can be learned via tutorials and videos on YouTube. I’ll try to find time to add some links to this post soon, but a quick search on Etsy and YouTube will yield everything you need. I’ve been studying and learning so much, even just making a tiny little object like this.
Subject: Blog, Craft, Modern Art, Supplies | 63 Comments »
03.11.15

My creative impulse tends to build to a boiling point during periods when life is too busy, chaotic, stressful… and then as soon as the gift of time is provided… it’s like the floodgates of heaven and hell open, simultaneously.

It started with this object, a very ancient glass bottle that I purchased in a crazy hippie crystal alchemists shop–The Crystal Fox–in Laurel, Maryland of all places. I think there was something about that visit that set things in motion; I’m blaming it on breathing too much incense smoke as Molly and I were in there for like three hours.
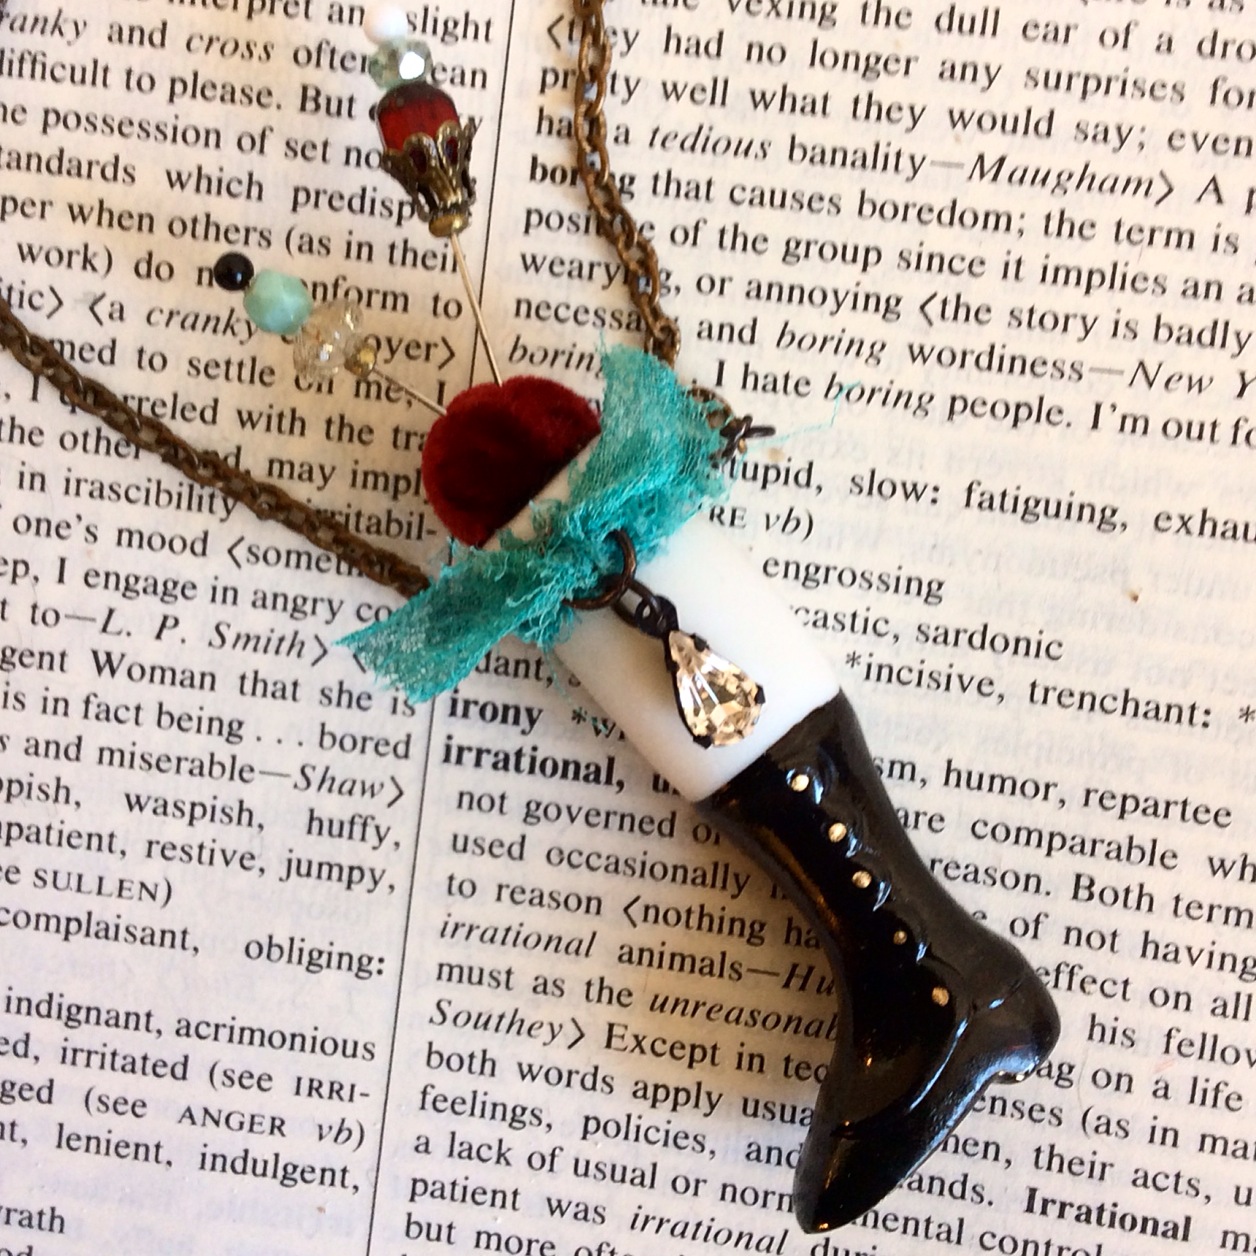
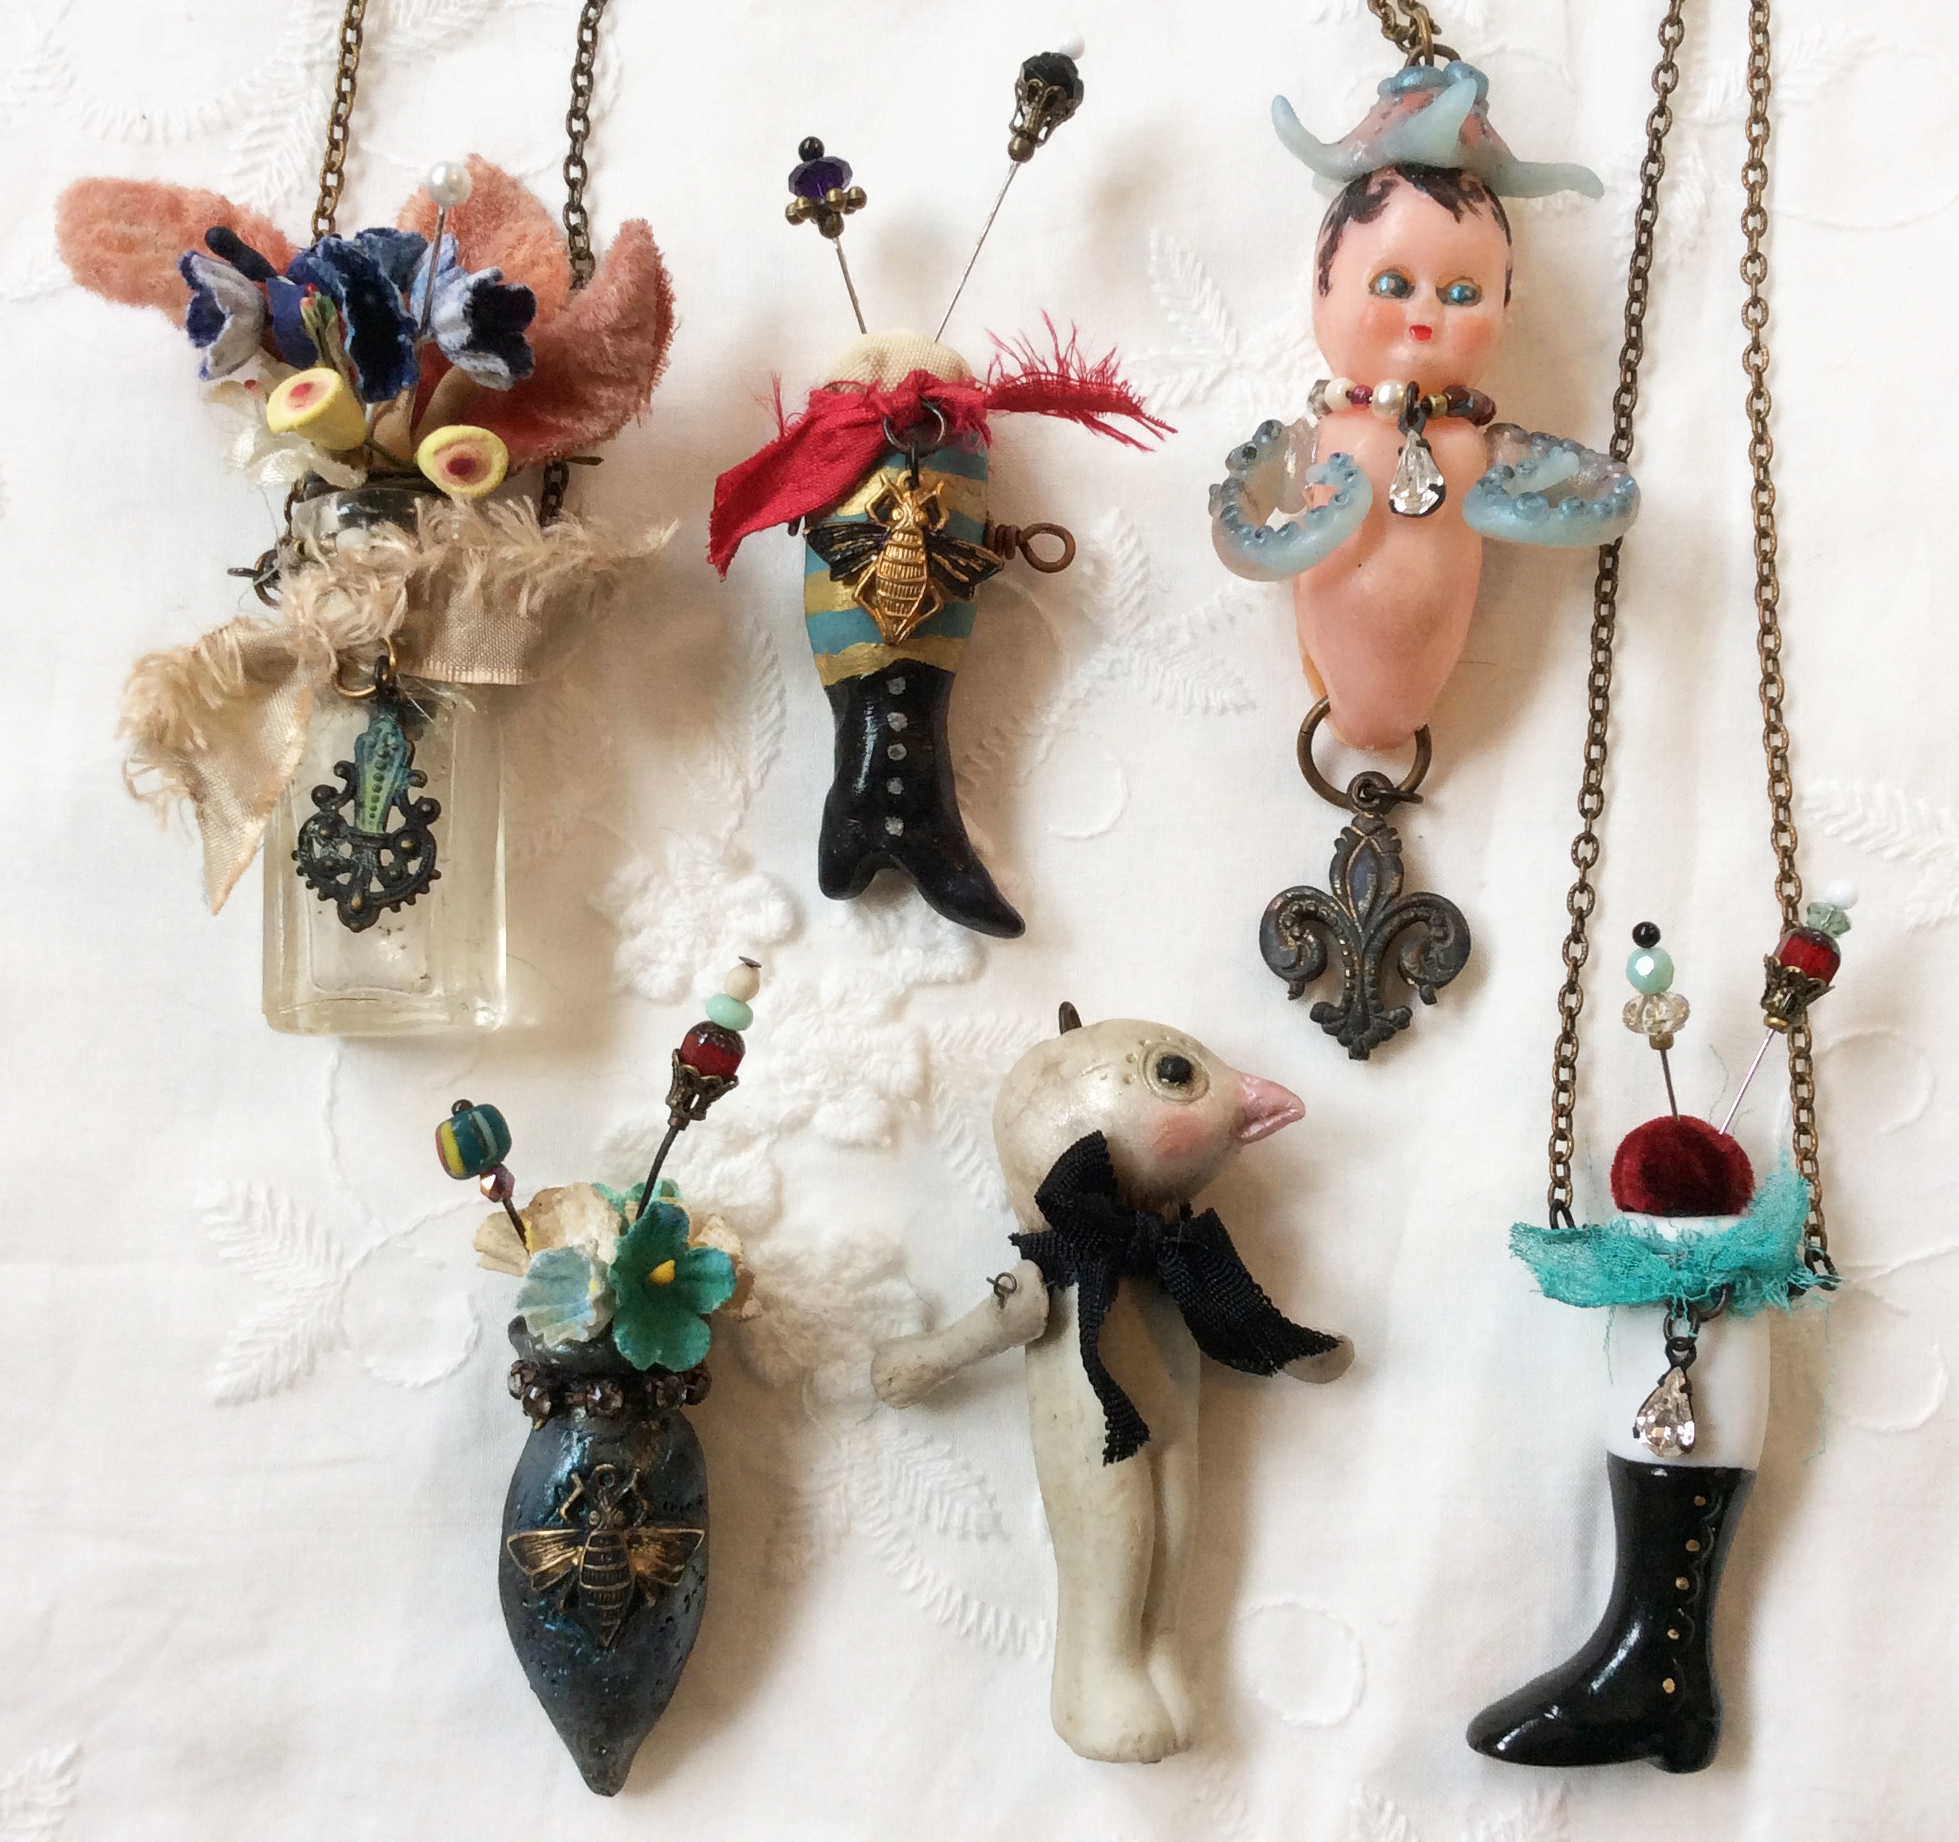
This second object is something I’ve wanted to make for a truly long time, and after finishing it I realized its relationship to the image in the So Charmed website masthead, an image that has always compelled me in powerful ways. The boot is ceramic, and I made the teeny little vintage-style hatpins.

The tiny ceramic or bisque boots are dear and expensive, so the following day I set about to make one out of polymer clay. The above piece thus is entirely handcrafted and I’m not sure I don’t like it better. Anyway, I plan to make more in both styles.

This little guy is an ancient bisque doll, dug up from an abandoned factory in Germany and poor thing was headless, as so many of them are. I dearly love animal-human hybrids (this is my second foray with this concept for jewelry) and felt this one to be incredibly successful, to the point where I may not be able to let go. More are planned.

During a manic creative period, there is a point where things either peak in an orgiastic art-fest or flame over the top in a heated blaze that can make one feel truly a bit mad. It is hard to know which thing is happening, only that it IS happening. Hence, Octoboy.

An amphora bottle with velvety millinery and more hatpins. Hard to see but there is a ring of tortured rhinestones around the top. I spent most of the day on this, and I’m very happy with the result. Riveted holes will allow me to wire it for a necklace.
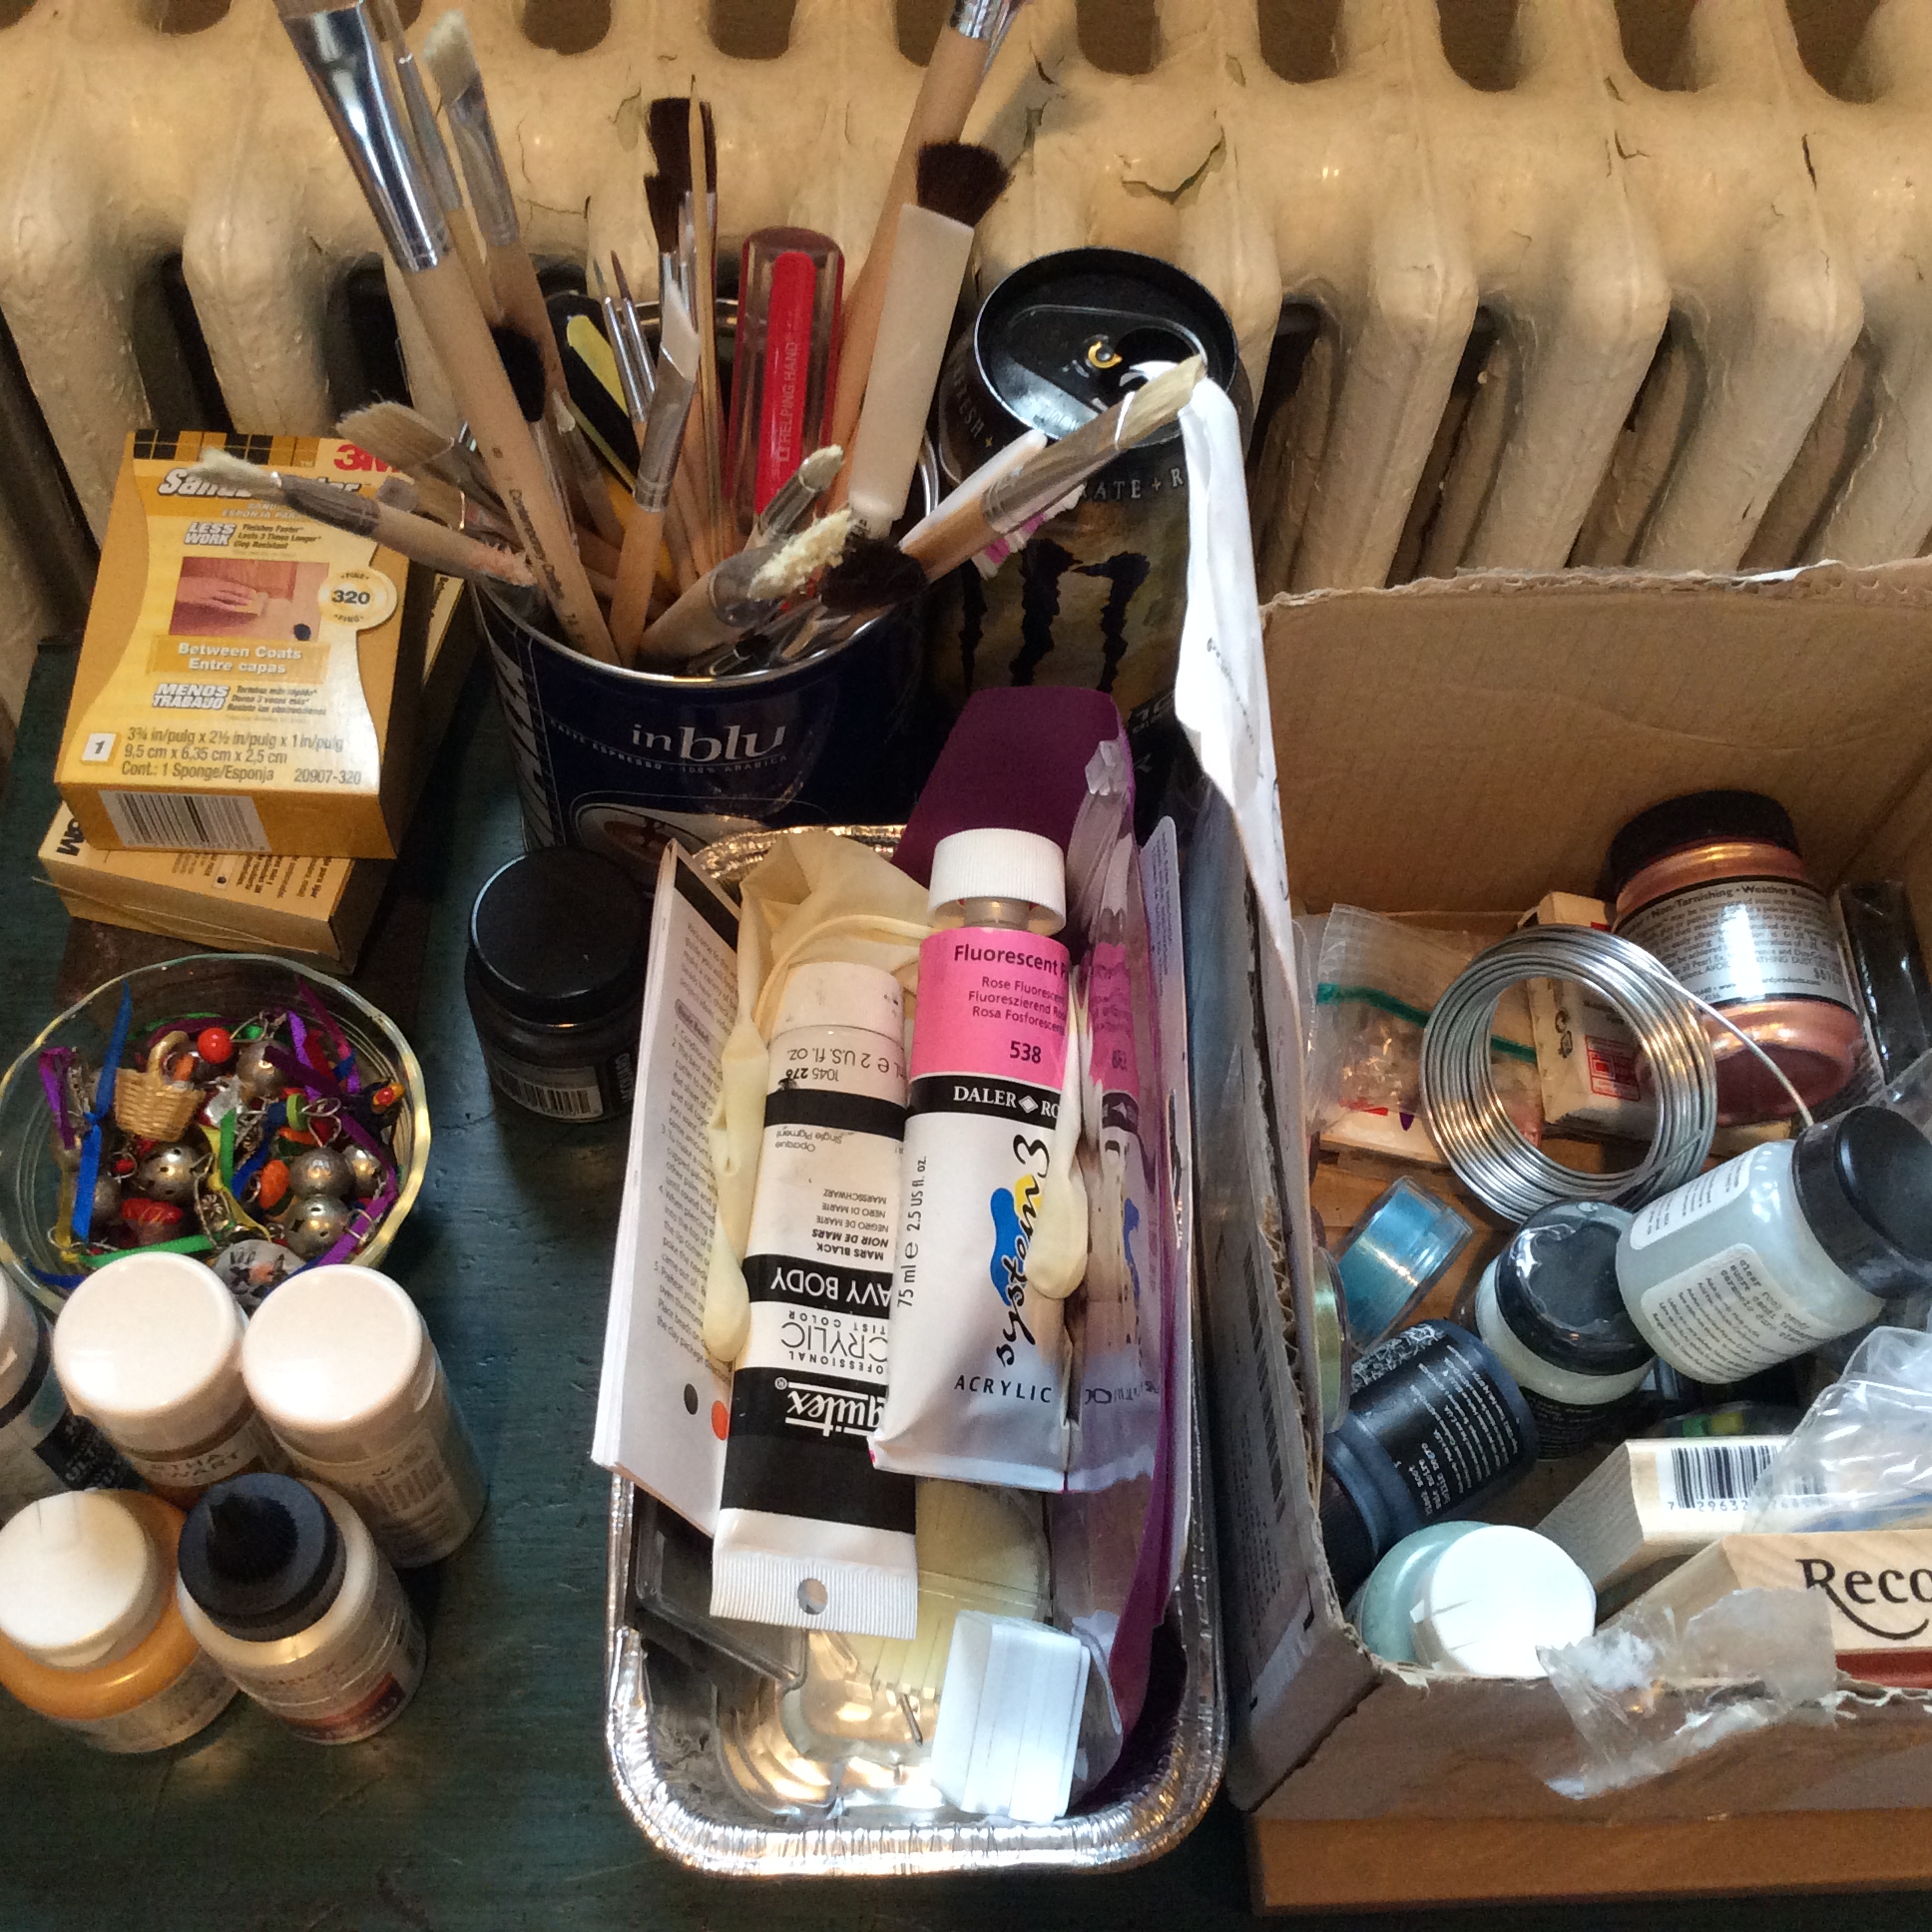
I am going to continue making these with the intent of selling them at So Charmed. But… as always, how to price?? It’s so very hard. These take a day to fabricate and an endless amount of supplies, some of them costly. Above is the table in the dining room where I keep clay supplies so that I can be near the kitchen for baking. Below, more supplies and tools.

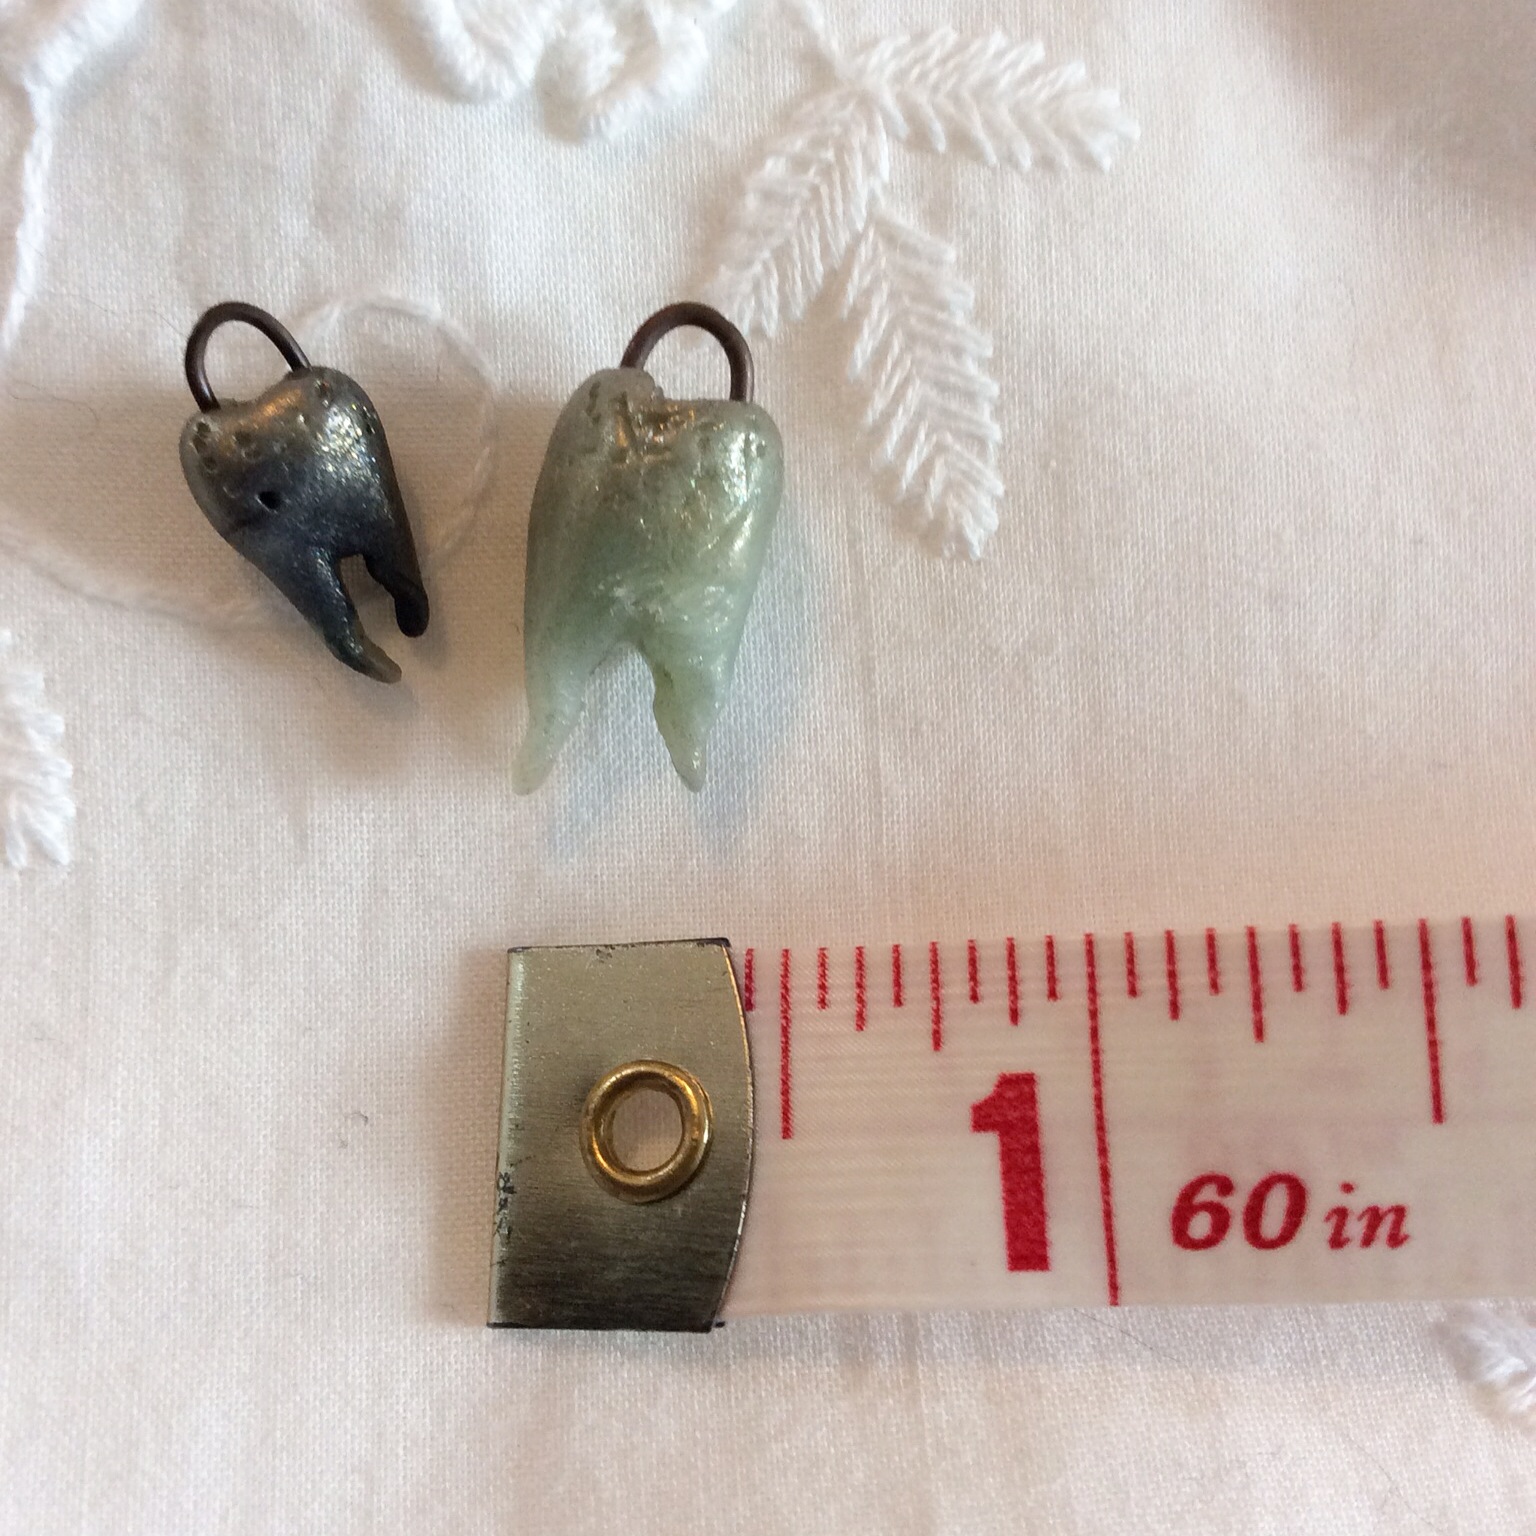
Look closely, do you see two tiny Jiffy toothache medication bottles? Since Molly is refusing to give up her soon to be yanked wisdom teeth for the sake of her mother’s art (Mom, get your OWN out!)… I was forced to make some little toofs out of clay.
Here is the entire collection to date. I love seeing them together as it suggests a certain consistency of vision that will manifest itself in so many differing and delightful directions. Yay for the muse!
Subject: Blog, Craft, Modern Art | 60 Comments »


